
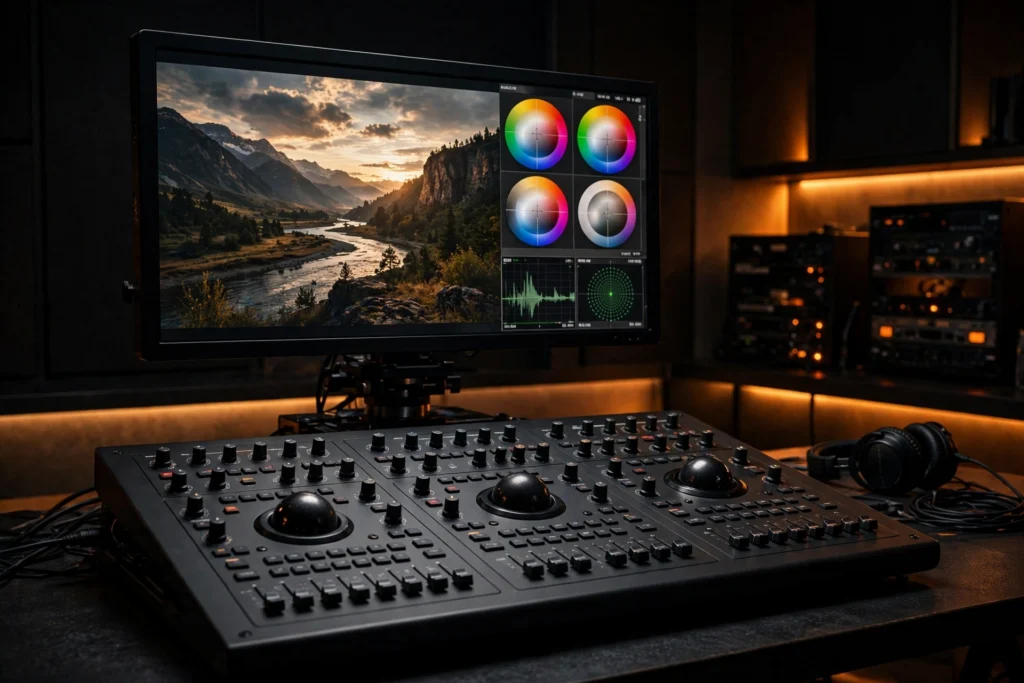
Ask a colorist what makes AI-generated footage hard to grade and you won’t hear about style. You’ll hear about the file itself. AI clips arrive with compressed color, synthetic noise patterns, baked-in contrast decisions, and skin tones the model invented rather than captured. Grading AI footage isn’t the same job as grading camera footage — the tools are the same, but the problems? Different. This guide covers the professional approach: why AI footage behaves the way it does, how to correct it, how to style it, and a complete grade recipe you can run on every project.
Why AI footage grades differently
To grade AI footage well, you need to understand what you’re actually working with. A camera records light hitting a sensor. An AI model synthesizes pixels from learned patterns. That difference shows up in the grade — everywhere:
- Compressed color information. Most AI video generators output 8-bit H.264/H.265 MP4s. There’s no RAW, no log profile, no 10-bit safety net. Push the grade hard and the image falls apart fast — banding in skies, blocky shadows, clipped highlights with nothing to recover. You have less latitude than you’re used to, so corrections must be gentle and precise.
- Baked-in looks. Many generators apply their own contrast curve, saturation boost, and sharpening before you ever see the file. You’re not grading neutral footage; you’re grading someone else’s (something else’s) creative decisions. The first job is often undoing the generator’s styling before applying yours.
- Synthetic noise and texture. Real sensor noise is random and grades naturally. AI footage often has patterned noise, over-smoothed surfaces, or texture the model hallucinated. Standard noise reduction can make it worse by smearing the synthetic detail. Grain added deliberately usually looks better than the “noise” the clip arrived with.
- Inconsistent renders. Every generation makes independent color decisions. Two clips from the same prompt can have different white balance, contrast, and saturation. Shot matching — making clips look like one production — is a bigger part of AI grading than camera grading, where the camera at least stays consistent with itself.
- Invented skin tones. A camera records actual skin; a model guesses. AI skin often skews magenta, orange, or waxy-smooth. It’s the first thing viewers notice and the hardest thing to fix aggressively, because skin has the narrowest acceptable range of any color in the frame.
The practical takeaway: grade AI footage like you’re working with heavily compressed, pre-styled consumer footage. Because honestly? That’s essentially what it is. Small moves, constant scope checks, and correction before creativity.
Corrective vs creative: the two passes
Professional grading is always two separate jobs. Amateurs blend them — and then wonder why nothing matches. Don’t be that person.
Pass 1: Correction (make it neutral and matching)
Correction removes problems and differences. No style, no taste. Just neutralizing:
- Neutralize the generator’s baked-in look. Pull back the overcooked contrast and saturation most generators apply. Get each clip to a flat, neutral baseline.
- White balance. Per clip, remove color casts. AI footage commonly skews magenta, teal, or green. Use the white balance picker on something that should be neutral — a wall, clothing, a gray surface.
- Exposure matching. Bring all clips to the same brightness baseline. Don’t style yet; just make shot 1 and shot 5 feel equally exposed.
- Contrast normalization. Match the contrast range across clips so they sit together.
After correction, your timeline should look consistent but boring. That’s correct. Boring is the foundation style gets built on.
Pass 2: Creative grading (apply one look)
Only when every clip is corrected do you style. Build the look on one representative hero shot, then apply it everywhere:
- Design the look on your best, most representative clip.
- Save it as a preset (Lumetri preset in Premiere, PowerGrade in Resolve).
- Apply to all clips, adjusting intensity per clip — not every shot needs the full look at 100%.
- Re-check skin tones on every shot after applying the look.
The order is non-negotiable. Correct everything, then grade everything. Styling uncorrected clips just produces stylishly mismatched clips — which is somehow worse than plain mismatched clips.
Skin tones: AI footage’s weakest point
If you take one section of this guide seriously, make it this one. Bad skin is the fastest way to make AI video look cheap, and AI generators produce bad skin constantly. Constantly.
- Know the target. On a vectorscope, healthy skin tones fall along the “skin tone line” (roughly the 11 o’clock position, between red and yellow). AI skin frequently sits off this line — too magenta (toward red/purple) or too orange (toward yellow). Your job is nudging it back.
- Isolate before you adjust. Don’t shift the whole image to fix skin — you’ll wreck the environment. Use HSL Secondary (Premiere) or qualifier + tracked window (Resolve) to isolate skin, then adjust hue and saturation within that isolation.
- Common AI skin problems: magenta cast (shift hue toward yellow slightly), over-saturated orange (pull saturation down in the skin range only), waxy over-smoothing (add a touch of grain or texture to skin areas — perfectly smooth skin reads as fake), inconsistent tone across shots of the “same” person (match to your hero shot’s skin, always).
- Check skin last in every pass. After correction, check skin. After applying the creative look, check skin again. Looks that are beautiful on landscapes routinely murder faces.
- When in doubt, go natural. An aggressive stylized grade with perfect skin beats a beautiful grade with zombie skin every time. Viewers forgive stylized environments; they never forgive wrong faces.
Matching AI clips to each other
Shot matching deserves its own section. It’s half the grading job in AI video — half! Practical method:
- Pick a hero shot. The best-looking, most representative clip becomes the reference everything matches to.
- Work in pairs. Put the hero shot and the clip you’re matching side by side (Resolve’s split-screen or Premiere’s comparison view). Match exposure first, then color balance, then contrast.
- Use scopes, not eyes. Your eyes adapt to each clip within seconds. The waveform (exposure) and vectorscope (color) don’t adapt. A 30-second scope check per clip prevents hours of “why does this still look off.”
- Match in correction, not in the look. Get clips matching while neutral. If you try to match clips that already have different creative grades, you’re chasing your tail.
- Accept close over perfect. AI clips from different generations will never match the way two takes from one camera do. Get them close, apply the unifying look, add grain — the look and grain do the final unification work.
LUTs: useful tool, dangerous shortcut
LUTs (Look-Up Tables) are presets that remap color. And they’re the most misused tool in AI video grading. By a mile.
- What LUTs are good for: a starting point for a creative look, applied AFTER correction, at reduced intensity (50–70% is often better than 100%). Technical LUTs (like converting between color spaces) are precise tools — use them as intended.
- What LUTs are bad for: slapping a different “cinematic” LUT on each clip and calling it graded. That’s the opposite of grading — it’s randomizing.
- The LUT trap with AI footage: most LUTs are designed for log or RAW camera footage with wide latitude. Applying them to already-contrasty 8-bit AI footage crushes shadows and clips highlights instantly. If you use LUTs, choose ones designed for Rec.709/standard footage, or build your own look with curves and wheels instead.
- Better than a LUT: build your look manually once (curves for contrast, wheels for color, targeted saturation), save it as a preset/PowerGrade. You understand every adjustment, you can tune it per clip, and it won’t do anything surprising to your shadows.
DaVinci Resolve workflow: the node tree
Resolve’s node-based grading is ideal for the correct-then-grade discipline, because each job gets its own node. A solid AI-footage node tree:
- Node 1 — Exposure/balance: lift/gamma/gain to set exposure, color temperature/tint to neutralize casts. Scopes open.
- Node 2 — Contrast: custom curve to normalize contrast, undoing the generator’s baked-in punch.
- Node 3 — Skin: qualifier isolating skin tones, tracked if the face moves; hue/saturation adjustments to land skin on the skin tone line.
- Node 4 — The look: your creative grade — curves, wheels, saturation. This is the node you copy across all clips (or save as a PowerGrade).
- Node 5 — Grain and finishing: film grain (subtle), slight halation or glow if the look calls for it, output sharpening if needed.
Work left to right, don’t skip nodes, and use the same tree structure on every clip. When a clip misbehaves, you know exactly which node to adjust. Resolve’s free version handles all of this — the paid Studio version adds some advanced tools (check current pricing on Blackmagic’s site), but the core grading workflow is fully available free.
Premiere Pro / Lumetri workflow
In Premiere, Lumetri Color gives you the same two-pass structure in a layer-based interface. Same discipline, different layout:
- Correction layer (Lumetri on each clip): Basic Correction section — white balance picker, exposure, contrast. Get every clip neutral and matching.
- Skin fixes: HSL Secondary to isolate skin, adjust as needed per clip.
- The look: build on one clip using Creative + Curves, save as a Lumetri preset, apply the preset to all clips via an adjustment layer over the whole timeline (easier to tune globally) or per clip.
- Finishing: a final adjustment layer with film grain (the “Grain” isn’t in Lumetri — use the FilmConvert-style plugin or Premiere’s VR/Denoise-adjacent tools; many editors use a dedicated grain plugin) and any global tweaks.
Adjustment layers are your friend for the creative pass: one look across the timeline, one place to adjust intensity. Keep correction per-clip (every clip needs different correction) and the look global (every clip gets the same look). Simple rule, easy to follow.
The grade recipe, step by step
Here’s the complete recipe. Run it on every AI video project:
- Assemble and order. Edit locked (or close to it) before grading. Grading footage that gets re-cut is wasted work.
- Pick your hero shot. Best clip, most representative of the project’s look.
- Correct the hero shot. Neutralize casts, set exposure, normalize contrast. Check scopes: waveform for balanced exposure, vectorscope for neutral grays and on-target skin.
- Match every other clip to the hero. Pairwise, scopes open, exposure → balance → contrast.
- Build the look on the hero. Curves for the contrast character, color wheels for the palette, saturation to taste. Three reliable directions: clean natural (lifted shadows, gentle warmth), teal-and-orange (cool shadows, warm mids — keep it subtle), muted filmic (slight desaturation, soft contrast — hides AI imperfections beautifully).
- Save the look. Preset or PowerGrade. Name it. You’ll reuse it.
- Apply everywhere at 70–100%. Start at full strength, pull back per clip where it fights the image.
- Skin check, every clip. Vectorscope on faces. Fix with isolated adjustments, not global ones.
- Grain. Subtle film grain over everything — it masks the over-smooth AI look and unifies shots like nothing else. Barely visible is the target; if you can clearly see it, it’s too much.
- The phone test. Export a draft, watch on a phone at normal brightness. Most of your audience watches there. If the grade falls apart on a small bright screen, simplify it.
- Fresh eyes. Take a break, re-watch. Grading fatigue is real — after two hours your eyes lie to you.
Scopes, grain, and delivery checks
- Waveform: keep your blacks above crushing (unless the look demands it) and highlights below clipping. AI footage clips harshly — there’s no highlight detail to recover, so protect highlights during the grade.
- Vectorscope: skin on the skin tone line, neutrals centered. Check per clip, not just the hero.
- Banding watch: 8-bit AI footage banding in gradients (skies, walls) gets worse with grading. If banding appears, a touch of grain usually breaks it up — another reason grain is mandatory, not optional.
- Don’t grade artifacts away. If a clip has morphing or flicker, grading won’t fix it — it’ll often make it more visible. Fix or replace the clip first (see the generator guide for cleaner sources), grade second.
- Export in the highest quality your delivery allows. Grading 8-bit footage then exporting to a low-bitrate H.264 compounds compression damage. Export a high-bitrate master, then compress delivery copies from that.
Grading is the step that makes AI footage look intentional instead of accidental. The generators decide what each clip looks like individually; the grade decides what your production looks like as a whole. Correct first, style second, check skin always. Run the recipe every time, and the “AI look” becomes a look you chose — not a limitation you suffered. For the full finishing order, grading sits inside the plan-to-delivery workflow: correct, grade, mix sound, export.