
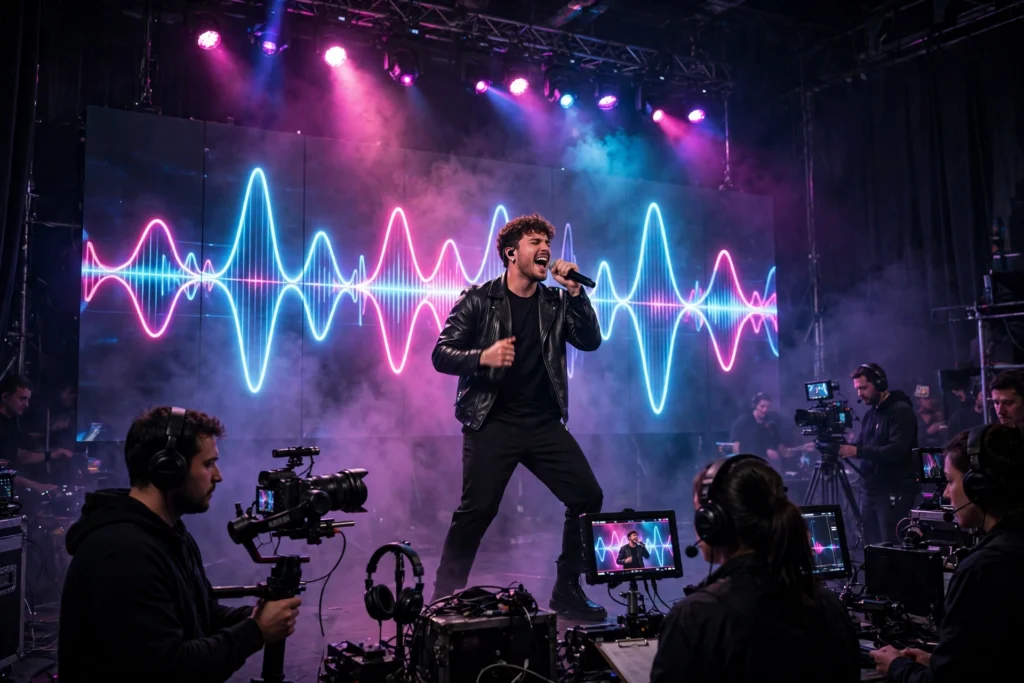
Most AI music videos look like slideshows with a soundtrack. Pretty clips, decent song, zero relationship between them — honestly, the visuals could be playing under any track and nobody would notice. The difference between that and a music video that actually hits? Synchronization. Visuals that breathe with the beat, motifs that return with the chorus, cuts that land like percussion. None of that happens by accident. And none of it happens in the generator. It happens in the edit — but it starts way before that, in how you plan and generate.
This guide walks the full workflow: beat mapping a track, generating clips to a song’s energy rather than its lyrics, cutting on the beat, building visual motifs that repeat with the musical structure, the editing workflow in Premiere Pro and DaVinci Resolve, and how to kill the drifting-slideshow feel that marks amateur AI music videos.
Start with the track, not the visuals
The single biggest mistake in AI music videos? Generating cool clips first, then finding a song later. Professional music videos — AI or not — get built the other way around. The track is the blueprint, and every visual decision answers to it. No exceptions.
Before you generate anything, live with the song. And I mean really live with it. Listen until you can map its structure from memory:
- Sections: intro, verse, pre-chorus, chorus, bridge, outro. Mark the timestamps.
- Energy curve: where does it build, where does it drop, where does it breathe? Draw it — a simple line graph on paper works.
- Signature moments: the drop, the key change, the vocal run, the silence before the final chorus. These are your visual set pieces; plan your best generations for them.
- Tempo and time signature: know the BPM exactly (tap it out or use a detector). Most pop sits between 90–130 BPM; electronic can push 140+.
Beat mapping: your editing blueprint
Beat mapping means marking every musically significant point on your timeline before a single clip lands on it. In Premiere Pro or Resolve, that looks like this:
- Import the track and create markers (M in Premiere) on every downbeat of each bar — or at minimum, on every section change and every accent you plan to cut to.
- Use a beat-detection approach for precision: Premiere’s transcription and beat tools, Resolve’s beat markers, or a dedicated tool. For most songs, manual marking of section boundaries plus automatic beat detection for the grid is the practical combo.
- Color-code your markers: one color for section changes, one for drops/accents, one for beats you intend to cut on.
- Export or screenshot this marked timeline — it becomes the brief for your generation phase. You are not generating “cool clips”; you are generating “the 8-second chorus shot with rising energy” and “the 4-second bridge shot with falling energy.”
I know — feels like overkill. Until you try editing without it. Then you’ll get it. The marked timeline turns music-video editing from guesswork into assembly.
Generating to energy, not lyrics
Beginners prompt the lyrics. The song says “fire,” so they generate fire. The result is literal, obvious, and boring. Professionals prompt the energy — the feeling of the section — and let the visuals carry their own meaning. Big difference. Huge difference, actually.
The energy-prompting method
For each section of the song, write an energy description before you write any prompt:
- Verse (restrained): intimate, close, slow camera drift, muted palette, one subject. Energy 3/10.
- Pre-chorus (building): camera starts moving, wider framing, light intensifying, anticipation. Energy 6/10.
- Chorus (release): expansive, fast motion, saturated color, multiple elements, peak movement. Energy 10/10.
- Bridge (contrast): strip it back — different texture, unexpected angle, the calm that makes the final chorus hit harder. Energy 4/10.
Then write prompts from the energy descriptions — not from the lyrics. “Slow push-in on a lone figure in blue half-light, dust drifting” serves a restrained verse better than any literal illustration of the words being sung. The audience feels the match without being able to articulate it. Which is exactly how great music videos work.
Motion intensity as a parameter
Most generators let you influence motion intensity. So map it to the energy curve deliberately: low motion in verses, high motion in choruses. A chorus clip with gentle drift feels wrong even when it’s beautiful. A verse clip with frantic motion fights the vocal. When you’re planning generations, assign each clip a motion rating and check it against the section’s energy before you generate.
One exception: the money line
Every song has one lyric the audience waits for — the title line, the hook phrase. For that one moment, literal is fine. More than fine. Time your most striking, most literal visual to the money line and let it land. One literal moment per video is punctuation. Ten is a picture book.
Cutting on the beat: technique
The basic cut
Place cuts on downbeats — the first beat of the bar — for structural transitions: verse to chorus, new visual idea. Place cuts on accents (snare hits, drops, vocal punches) for impact moments. But don’t cut on literally every beat — that just creates a strobe effect that exhausts the viewer. The rule: cut on the beats that mean something.
Cutting patterns
- Halving: cut every 2 bars in verses, every bar in the chorus. The edit accelerates with the song.
- The held shot: when everything around it is cutting fast, one long held shot on a downbeat creates enormous emphasis. Save it for the emotional peak.
- Pre-beat cuts: cutting 2–3 frames before the beat makes the cut feel explosive — the visual arrives just ahead of the sound. Use sparingly, on the biggest moments.
- Match cuts on motion: when cutting between AI clips, match the direction and speed of motion across the cut. A camera pushing left should cut to a shot with leftward motion. This hides the seams between independently generated clips.
Transitions that serve the music
- Hard cuts on beats — the default, and usually the right choice. Music videos cut; they rarely dissolve.
- Whip-pan transitions on drum fills and risers — generate or create motion-blur transitions that match the fill’s direction.
- Impact-frame cuts on drops — a single high-contrast frame (or flash frame) exactly on the drop, then into the chorus visual. Classic EDM technique, works everywhere.
- Speed ramps through builds — gradually accelerating a clip into the drop, then cutting on impact. Time-remap in Premiere or Resolve; AI clips ramp cleanly because you control the interpolation.
Visual motifs: the chorus must look like the chorus
Music is built on repetition. The chorus returns, and the audience recognizes it — that recognition is the pleasure. Your visuals should do the same. A visual motif is a recurring image, color, camera move, or composition tied to a musical section:
- The chorus visual: a signature shot or treatment that appears in every chorus — same location, same color grade, same energy. Generate it once, reuse with variations. The audience learns it like they learn the melody.
- Verse variations: verses can vary more freely, but keep a thread — the same character, the same palette family, the same film grammar.
- Bridge break: deliberately break the motif in the bridge — new texture, new angle, black-and-white, whatever contrasts. The break makes the final chorus’s return feel like homecoming.
- Escalation: each chorus iteration can intensify — wider, faster, more saturated. Same motif, rising energy. This mirrors how productions layer more instruments into later choruses.
Plan your motifs at the storyboard stage, before generating. Decide: what does the audience see every time the chorus hits? If you can’t answer that, you’re making a slideshow. I’m not being mean — that’s just what it is.
The editing workflow (Premiere Pro / Resolve)
- Assemble the spine: lay the marked-up track on the timeline. Place your best chorus clips on the choruses first — anchor the peaks, then fill the valleys.
- Rough cut to markers: cut every clip to your beat markers. Do not finesse yet; get the structure right.
- Refine the cuts: nudge cut points frame by frame. The difference between cutting on the beat and 3 frames off is the difference between professional and amateur — zoom in and be precise.
- Build the motifs: check that choruses rhyme visually. Adjust grades so recurring sections share a look.
- Speed work: add ramps on builds, freeze frames on accents, subtle slow-motion on emotional beats. AI clips are ideal for speed manipulation since you generated the motion.
- Grade for musical structure: consider grading verses cooler and choruses warmer, or desaturating bridges. Color becomes another instrument.
- Sound design layer: whooshes on transitions, impacts on drops, risers into choruses. The track is the foundation; designed sound effects are the polish. Keep them subtle — they support, never compete.
- Final pass at full volume: watch the whole thing loud, on a good screen, without stopping. If any section feels long, it is long — cut it.
Avoiding the slideshow feel
The slideshow feel has specific causes. And each one is fixable:
- Uniform clip lengths: if every shot is 4 seconds, the video has no rhythm. Vary shot lengths with the music — quick cuts in dense sections, long holds in sparse ones.
- No internal motion: clips where nothing moves inside the frame feel like stills. Generate with deliberate internal motion (not just camera moves) — hair, fabric, water, light, crowds.
- Disconnected shots: shots with no visual relationship feel random. Motifs, match cuts, and consistent grading create the connective tissue.
- Ignoring the vocal: the voice is the lead instrument. Cut to vocal phrasing, not just drums — breaths, pauses, and runs are all edit points.
- Static framing: vary your shot scales deliberately — wide for choruses, close for verses is the classic grammar, but any deliberate pattern beats randomness.
- No arc: the video should go somewhere. First chorus and final chorus should not look identical — escalate.
Genre-specific visual languages
Different genres have visual grammars your audience already knows. Work with them, not against them:
- Hip-hop: confident, grounded framing; slow push-ins and deliberate camera moves; luxury textures and strong portraiture; cuts on the snare. The visual language is power and presence — generate with weight, not frenzy.
- Electronic/EDM: maximal energy matching; strobing cuts on drops; abstract and surreal visuals welcome; impact frames and speed ramps are native grammar. This is the genre where AI’s surreal strengths shine brightest.
- Pop: clean, colorful, choreographed feel; the chorus visual motif matters most here because pop choruses repeat relentlessly. Bright, readable, shareable frames.
- Acoustic/indie: restraint is the whole aesthetic — natural light, slow drift, intimate framing, long takes. Resist the urge to show off; the song is fragile and the visuals should be too.
- Rock/metal: aggressive cutting, high contrast, performance energy even without a band on screen. Texture and grit — film grain, harsh light, motion.
These are starting points, not rules. The best music videos understand the grammar well enough to break it deliberately. But “deliberately” requires knowing it first — otherwise it’s not breaking rules, it’s just chaos.
Working with artists: the collaboration workflow
- Get the track early and exclusively. Do not start generating until you have the final mix (or as final as it gets). Editing to a demo and re-cutting to the master doubles your work.
- Ask about the song’s meaning — then decide how much to use. Some artists want literal storytelling; others want pure vibe. This single conversation determines your entire prompting strategy.
- Show beat-mapped animatics, not finished clips, for first review. Artists give better notes on structure than on polish. Lock the edit before you spend credits on final-quality generations.
- Agree on revision rounds like any client work — artists are passionate and will revise forever if you let them. Two to three rounds, defined in writing.
- Credit and rights: clarify who owns the video, where it can be shown, and whether you can use it in your portfolio. Get this in the agreement before delivery, not after the video blows up.
Rights and practicalities
- Use music you have rights to. Generating visuals does not license the track. For client work, the client provides licensed music; for your own releases, use licensed, royalty-free, or original tracks. A takedown over the song wastes all your video work.
- Budget generations per section. Choruses deserve your best settings and most iterations — they repeat, so flaws repeat too. Verses can be efficient.
- Render time is real. A 3-minute music video at high settings is dozens of generations. Plan the compute budget like you plan shoot days.
- Aspect ratio: 16:9 for YouTube is standard, but consider 9:16 versions — music discovery increasingly happens on vertical platforms. Generate with reframing in mind or produce dedicated vertical cuts.
Here’s how I think about it: a great AI music video is 20% generation and 80% musical thinking. The generator gives you raw material. The beat map, the motifs, and the edit turn it into something that feels inevitable — like the visuals couldn’t possibly belong to any other song. That feeling is the whole job. Everything in this guide serves it.
For the editing techniques referenced here, see our generator comparison for which tools give you the motion control that music videos demand — and our cost guide for budgeting a full track’s worth of generations.