
Generate a conversation in pieces and you’ll meet this problem fast. Shot one: soft morning light through a kitchen window. Shot two — same kitchen, same “morning” — looks like a dentist’s office at noon. And the reverse angle? Gone moody evening for no reason at all. The faces match. The room matches. But the cuts feel wrong. Like the scene was assembled from three different days. That feeling is lighting drift — and it breaks more AI video scenes than bad faces do. Because it breaks the sense that the shots ever shared a room.
Light is the glue between separately generated shots. Every clip you make is its own little production with its own imaginary sun. And unless you control that sun, each clip sets it somewhere else. The good news? Lighting responds well to systems. Lock the time of day, carry a written lighting spec from prompt to prompt, use reference frames as light references, and learn which drift is acceptable and which kills the scene. Here’s the working method.
Light Is A Location, Not A Decoration
The mental shift that fixes most of this: stop treating light as atmosphere sprinkled on top of a shot. Start treating it as part of the set. A location in your film is not “a kitchen.” It’s “a kitchen at 8 a.m. with low sun coming through the window on the left, warm bounce off the wooden table, cool shadow in the corners.” Change any of those and you have, visually, a different location. Your audience knows rooms by their light as much as by their furniture.
And this is why lighting drift stings more than, say, a prop changing slightly. Props are objects in the scene. Light is the scene’s physics. When the key light jumps from camera-left in one shot to camera-right in the reverse, the viewer’s spatial model of the room breaks — the same broken feeling as a screen-direction error, and just as hard to un-feel once you’ve noticed it.
It also explains why prompts alone struggle. “Natural light” is not a lighting design. It’s an invitation for the model to pick one per generation. “Cinematic lighting” is worse — that means a different movie every time. Models default to whatever lighting is most typical for the scene type in their training data. So a café gets café light… except the café in shot three is a different café in a different country at a different hour. You’re not fighting a bug. You’re fighting an absence: nobody told the model where the sun is. So tell it. Every time. In the same words. The same discipline used for keeping locations consistent, applied to the light inside them.
Lock Time Of Day Like You Lock Wardrobe
Wardrobe gets a locked description in every prompt. Time of day deserves the same status. Before generating a scene, decide the exact lighting state and write it down as a spec with four components:
- Time and source. “Late afternoon, sun low in the west” or “overcast midday, soft even light, no hard shadows.” Specific beats poetic. “Golden hour” is a range of an hour’s worth of different light; “sun low, long shadows, warm light raking across the floor” is an instruction.
- Direction. Where is the key light coming from relative to the room and the camera? “Window light from frame left” is a decision the model can repeat. Without it, every angle invents its own window.
- Colour temperature in words. Warm, neutral, cool — plus what is creating it. “Warm 3200K-style tungsten practicals with cool blue spill from the window” is a real lighting state a model can approximate across shots. Bare “warm lighting” is not.
- Contrast character. Hard and contrasty, or soft and flat? “Strong contrast, deep shadows” versus “soft, low-contrast, shadowless” — pick one per scene. Contrast mismatch is the drift viewers notice most on cuts, even before colour.
Then do the unglamorous thing: that four-part spec goes into every prompt for the scene, unchanged. The same way a wardrobe line does. When the story moves to a new time of day, change the spec deliberately — at a scene boundary — and mark the change in your shot list. I’ll be real: half of all “lighting drift” I see in other people’s work is actually an unmarked halfway state. The creator started nudging the prompt toward evening across three shots, the model met them halfway each time, and now there are three shots that match nothing.
Interior scenes need one extra decision: practicals. Lamps, screens, neon, candles — decide which are on, and keep them on. A lamp that glows in shot one and sits dark in shot two? That’s lighting drift wearing a prop costume.
The Lighting Line That Travels With Every Prompt
Let me make this concrete. Say the scene is two people talking in a living room, evening. My lighting line — one block, pasted into every prompt of the scene — reads something like: “Evening interior, warm tungsten light from a table lamp at frame left, soft falloff into shadow, cool faint blue light from a window at frame right, low contrast in the shadows, realistic skin tones under warm light.”
The full prompt then layers around it: character lines, wardrobe lines, the lighting line, then the shot-specific action and camera. Shot-specific parts change. The lighting line doesn’t. If the camera moves to the other side of the room, I keep the lamp’s position true to the room rather than the frame — “lamp now at frame right, having crossed the room with the camera” is a contradiction, so instead the direction gets restated from the room’s geography: the lamp stays on the side table by the sofa, and the prompt says where that is relative to the new frame. Same geography discipline that keeps screen direction honest — and planning it at the storyboard stage, where the room is drawn once with its light sources marked, prevents most of it. The storyboard-first workflow is where I mark light direction arrows on frames before a single generation happens.
Let me show you what this looks like across an actual short scene, because the pattern is easier to copy than the principle. Four shots: two people arguing in a kitchen, morning. Before generating anything, the scene’s light spec goes at the top of the shot list: “Weekday morning, 8 a.m. Cool daylight through the window over the sink, camera-right. Soft, low contrast. Warm bounce from the wooden cabinets. No ceiling light. Sky outside the window pale and bright, not blue-sky sunny.” Shot one, the wide, gets that line plus the blocking. Shot two, her close-up, gets the same line verbatim — the model will want to warm her close-up up like a cosmetics ad, and the spec is what talks it out of that. Shot three, his reverse, same line again, with the window now noted as behind camera rather than in frame — because the geography flipped with the angle, not the light. Shot four, the exit, same line. Four generations, one sun. The first time I ran a scene this way, the cuts stopped feeling stitched. And nothing else about the prompts had changed — characters, wardrobe and wording were the same as my earlier, driftier attempts. The only new ingredient was that the light had a fixed address.
A few phrasing habits that measurably help:
- Name the light source object, not just the quality. “Light from the large window” anchors direction in a thing the model can keep in the room. “Bright light” anchors nothing.
- Use negative prompts for the opposite state. For a night scene: no daylight, no bright sky through windows, no overhead office light. Drift often arrives as the model’s default for the location type, and negatives push against exactly that.
- Repeat the colour cast. If the scene is warm, say warm in every prompt. Models average toward neutral when unsure, and unsure is their default state.
Reference Frames As Light References
Written specs hold light across a scene reasonably well. Reference frames hold it better. The first approved shot of a scene is the lighting truth for everything after it — and most current tools give you a way to use it that way.
On Seedance 2.5, include the approved first frame (or a still from the approved first clip) among the reference images for later shots in the scene, and say so in the prompt: match the lighting and colour of the reference frame. On Veo, generate later shots image-to-video style from stills that already carry the scene’s light, or extend from the approved clip where the tool allows — letting the light carry forward by construction. The general craft of feeding the model pictures instead of adjectives is the subject of the reference images guide. And light is one of the strongest arguments for it: one frame communicates “warm lamp left, cool window right, soft shadows” more precisely than any sentence I can write.
Two rules keep this from backfiring. First, pick the reference frame from a mid-scene, neutrally framed shot — not the most dramatic one. A reference baked in an extreme close-up’s light will poison wides. Second, when scenes change location, start a new light reference instead of dragging the old scene’s light along. Each location in my project folders has a small “light ref” still saved next to its location frames, and new shots at that location always start from it.
Acceptable Drift Vs Scene-Breaking Drift
Perfectly identical light across separately generated shots isn’t achievable, and chasing it will eat your week. Some drift is invisible in practice. Some ruins the cut. Knowing the difference is the actual skill.
Usually acceptable:
- Small shifts in brightness or warmth between a wide shot and its close-up, where framing and subject scale also change. The cut itself explains a change; the viewer’s eye is busy with the new framing.
- Gradual change you have authored — light genuinely evolving across a scene, a sunset progressing — as long as it moves in one direction and never jumps backward.
- Drift in shots separated by a cutaway or a time cue. An insert, a title beat, a door closing: anything that resets the viewer’s expectations buys you lighting freedom.
Scene-breaking:
- Key light changing sides between a shot and its reverse angle. This one reads as the room rebuilding itself and cannot be graded away.
- Time-of-day jumps — daylight through a window in one shot, night in the next, same conversation.
- Contrast flips between adjacent shots: one flat and video-like, the next crushed and cinematic. This is the mismatch people describe as “looks like two different cameras.”
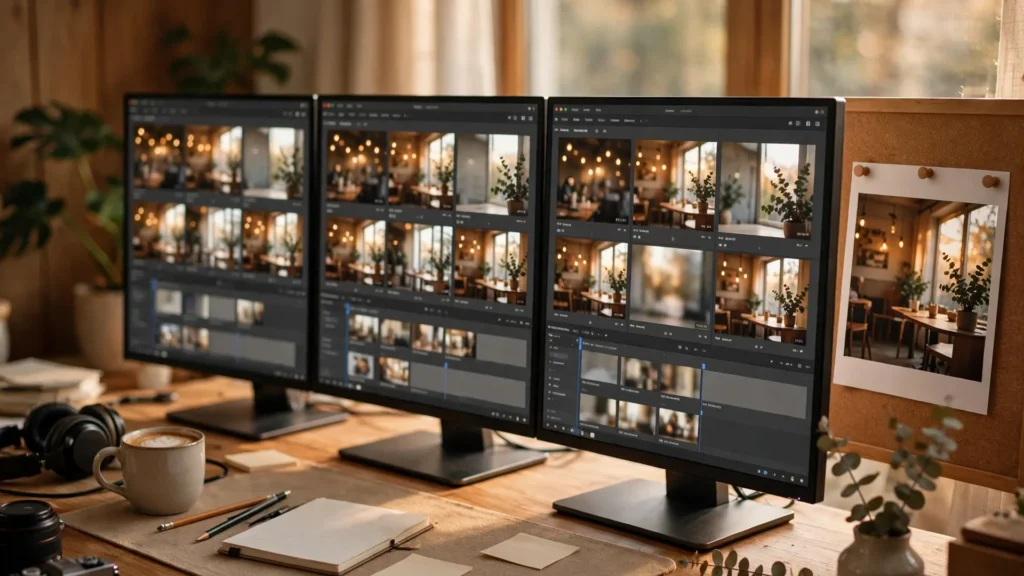
For the acceptable kind, the grade is your unification pass. In Premiere Pro, I build one adjustment layer per scene — not per shot. A base correction that pulls every shot toward a shared white balance and contrast curve, then tiny per-shot trims on top. Matching in this order — scene first, shot second — keeps you from polishing individual shots into beautiful strangers. And run your final review with fresh eyes on the assembled sequence. Because lighting drift is a cut-by-cut phenomenon; it literally does not exist inside any single shot. That assembled-sequence pass is a standard part of the AI video QC checklist for good reason.
Treat light as a location with a written spec. Carry the line in every prompt. Let the first approved frame police the rest. Grade per scene instead of per shot. Do that, and your separately generated shots start cutting together like they were filmed in the same room on the same evening — because as far as anyone watching can tell, they were.