
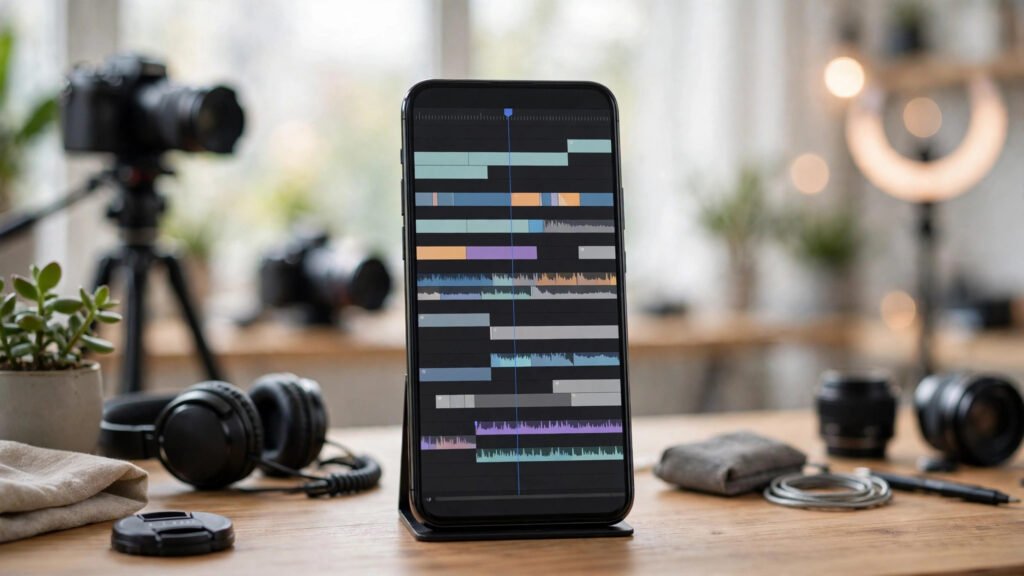
You do not need a desktop to make videos that look professional anymore. I have produced entire weeks of short-form content without touching a computer — shooting, AI-assisted editing, captions, color, export, and posting, all from a single phone. The phone-only workflow is not a compromise version of “real” editing; for short-form vertical video, it is often the faster and smarter route. This is the complete start-to-finish system.
Stage 1: Shoot with the Edit in Mind
Phone-only editing starts before you open any app — it starts in how you shoot. The golden rule: shoot more than you need, in short clips. Five ten-second clips give you far more editing flexibility than one fifty-second take, and trimming on a phone screen is dramatically easier when clips are short.
Lock your camera settings before shooting. On most phones, that means 4K at 30fps for maximum flexibility (you can always export at 1080p), and locking exposure and focus so the phone does not “breathe” mid-clip. Shoot everything vertical, 9:16, with your subject centered — and keep faces and key action inside the middle 80% of the frame. That margin is your safety buffer for platform UI overlays, which I will cover in the export stage.
Record clean audio even if you plan to use AI voiceover later. A scratch audio track makes syncing, timing, and pacing decisions ten times easier during the edit, and you can mute or replace it at the end. If you are filming talking-head segments, get the phone close — within arm’s reach. Phone microphones are surprisingly decent at close range and surprisingly bad at everything beyond it.
Stage 2: Assemble the Rough Cut on Your Phone
Import your clips into a mobile editor — CapCut is the default choice for good reason, with a genuinely capable free tier — and build the rough cut before touching any AI features. The order matters: structure first, polish second. Lay your clips on the timeline in story order, trim the dead air from the head and tail of each clip, and cut ruthlessly. For shorts, if a moment does not earn its second, it goes.
The rough cut is also where you establish pacing. Watch it back at full speed with the sound on. If you feel even a flicker of boredom, the viewer will feel ten times more — cut tighter. Most first drafts of short-form content are 30% too long, and the fix is almost always removing pauses and filler rather than adding effects. Get the skeleton right and every later stage becomes easier.
Stage 3: Let AI Do the Heavy Lifting
With the rough cut solid, this is where AI features earn their keep. Run auto-captions first — modern mobile editors generate them with impressive accuracy, and captions are non-negotiable for short-form since most viewers watch muted. Do not trust the automation blindly, though: skim every caption for misheard words, especially names and technical terms, and fix them before styling.
Next, use AI-assisted tools for the tedious work: background noise removal on dialogue clips, auto-reframe if you shot anything horizontal, and silence detection to tighten gaps. These features compress what used to be an hour of fiddly manual work into minutes. The key discipline is reviewing every AI decision — automation proposes, you dispose. An AI cut that removes a dramatic pause is worse than no cut at all.
If your video needs b-roll or visuals you did not shoot, this is the stage to generate or source them. AI-generated b-roll cut into a phone-shot video is a completely legitimate workflow now — the audience cannot tell and does not care, as long as the visuals serve the story. Generate what you need, drop it on the timeline, and move on.
Stage 4: Style Captions for Retention
Captions are not just accessibility — on short-form platforms they are a design element that directly affects retention. The current best practice is word-by-word or phrase-by-phrase highlight captions: large, bold, centered text with the active word highlighted in a contrasting color. This style keeps eyes locked on the middle of the screen, which is exactly where you want them.
Keep caption styling consistent across your videos — same font, same colors, same position. That consistency becomes part of your visual brand, and viewers start recognizing your content before they even read the username. Position captions in the vertical center or slightly above center; the bottom of the screen is a war zone of UI overlays, progress bars, and descriptions. My full breakdown of caption styles for Shorts covers the exact layouts that perform best.
One phone-specific tip: preview your captions at actual phone brightness in daylight conditions. Text that looks crisp in your dim editing room can wash out completely in sunlight. If it is readable in harsh light, it is readable everywhere.
Stage 5: Color and Polish on a Small Screen
Color grading on a phone is absolutely doable if you respect the screen’s limits. Do not attempt subtle, cinematic grades on a six-inch display — go for clean and punchy instead. Start with auto-enhance or a trusted preset as a base, then adjust only exposure, contrast, and saturation to taste. The goal is consistency across clips, not artistry per clip.
The most important phone grading task is matching: making clips shot at different times or in different light look like they belong together. Pick your best-looking clip as the reference, then adjust the others toward it. White balance mismatches — one clip warm, the next cool — are the most common giveaway of phone-shot content, and they take seconds to fix with a temperature slider. For a deeper dive, see my guide to color grading AI footage, whose principles apply equally to phone-shot clips.
Add your final polish here too: subtle sharpening if the footage is soft, a light vignette to focus attention, and any zoom punch-ins for emphasis. Keep effects minimal — on a phone screen, restraint reads as professional.
Stage 6: Export Settings That Preserve Quality
This is where phone workflows most often fall apart. The wrong export settings can turn a crisp edit into mush, and every platform recompresses your upload — so you need to give it the best possible source file. The baseline for short-form: 1080×1920 resolution, 30fps (match your timeline), and the highest bitrate your app allows.
In CapCut, that means exporting at the top quality preset with the bitrate slider pushed up. Yes, the file gets bigger; yes, the upload takes longer. That is the price of quality, and it is worth paying. A high-bitrate upload survives platform recompression dramatically better than a low-bitrate one. My guide to high-bitrate export for Shorts shows exactly how much difference this makes.
Before exporting, do the safe-zone check: mentally overlay the platform UI — profile icon, like buttons, caption area, progress bar — and confirm nothing important sits underneath. The TikTok safe zone layout applies broadly across Shorts and Reels too. One export ruined by a covered face teaches this lesson permanently; learn it from this paragraph instead.
Stage 7: Post Natively from the Phone
Upload from the phone itself, through each platform’s native app, rather than scheduling from a desktop tool when quality matters most. Native uploads occasionally get preferential processing, and you can use each platform’s native features — trending sounds, effects, duet options — at upload time.
Write the title, description, and hashtags on the phone too, while the video is fresh in your mind. Hook the viewer in the first line of the description, add three to five genuinely relevant hashtags (not thirty), and pick a cover frame with a clear, expressive moment — ideally a face or bold text. If you are cross-posting to multiple platforms, upload the clean master file to each natively rather than re-uploading a watermarked version from another app; watermarks scream “repost” and suppress reach.
For YouTube Shorts specifically, the upload pipeline has its own quirks around resolution and processing — my notes on uploading 4K YouTube Shorts cover how to get the sharpest possible result on that platform.
Stage 8: Batch the Workflow for Consistency
The phone-only workflow truly shines when batched. Shooting five videos in one session, then editing them across the week, is dramatically more efficient than doing the full pipeline start-to-finish per video. Your lighting is consistent, your energy is consistent, and you stay in one “mode” at a time — shooter mode, editor mode, poster mode — instead of context-switching.
Build yourself a repeatable checklist: shoot day, rough-cut day, polish day, posting schedule. Save your caption styles, color presets, and export settings as templates in your editing app so every video starts from 80% done. This is the same batching logic I use for AI short-form production — the weekly batch workflow for AI Shorts maps almost one-to-one onto phone-shot content. The creators who post consistently are not working harder; they are repeating a system.
That is the entire phone-only pipeline: shoot with intent, rough-cut for structure, AI for the heavy lifting, captions styled for retention, clean color, high-bitrate export, native posting, and batching for sanity. No desktop required — just a phone, a system, and the discipline to follow it.