
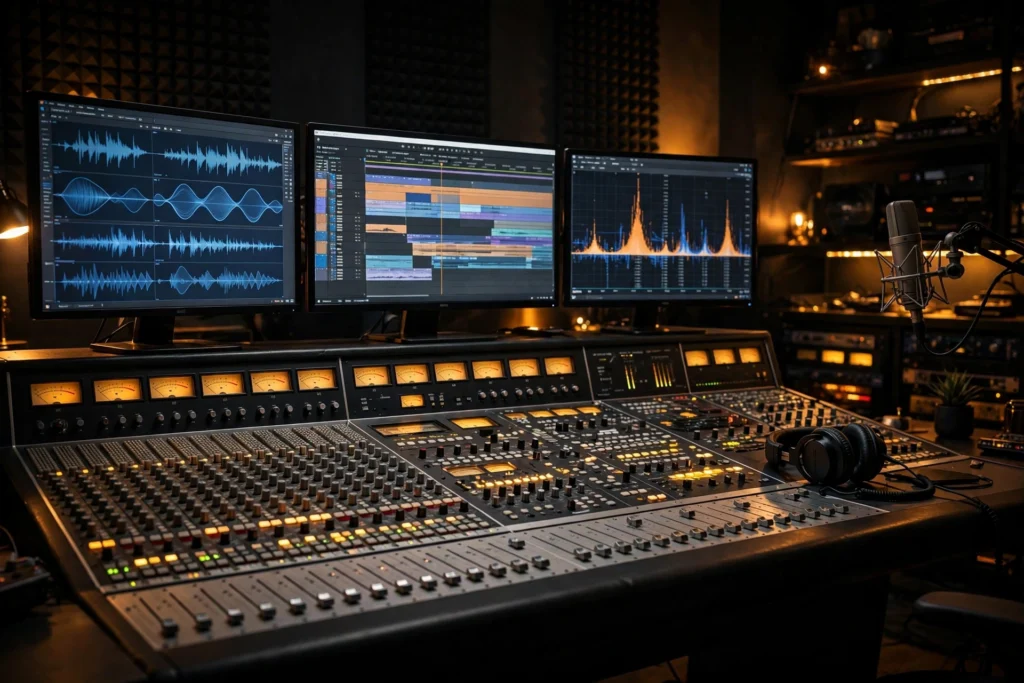
Here’s an uncomfortable truth about AI video: the picture has improved faster than the sound. Generators now produce genuinely cinematic visuals — and then pair them with thin, generic, or outright broken audio. The result is a strange uncanny valley where your eyes say “film” and your ears say “demo.” Professional sound design is what closes that gap. It’s also the highest-leverage post-production skill most AI creators haven’t learned. Audiences forgive imperfect visuals far more readily than imperfect audio. Far more readily.
This guide covers the complete professional audio post workflow for AI video — the layers, the sources, the sync, the mix, and the tools.
Why generated audio falls short
Some AI video tools now generate audio alongside video — ambient sound, sometimes music, occasionally effects. Understanding its limits tells you what you need to build yourself:
- It’s generic by design. Generated audio aims for plausible, not specific. Rain sounds like rain, but not like rain on the particular street in your shot. Crowds murmur, but no individual voice matches any individual face. Plausible is fine for backgrounds; it’s death for foreground moments.
- It doesn’t sync to action. A door slams in the video; the generated audio has vague room tone. Footsteps, impacts, object handling — the specific sounds tied to specific on-screen actions — are almost never right. These “sync points” are precisely what the ear uses to judge whether sound is real.
- Dialogue is the weakest link. AI dialogue generation (where offered) struggles with emotional nuance, lip sync precision, and consistency across clips. For anything beyond background chatter, plan on recording or sourcing dialogue separately.
- Mix quality is flat. Generated audio typically arrives as a single stereo mix with no separation between elements — you can’t turn down the “music” or bring up the “footsteps” because they’re baked together. Professional work needs separated layers you control.
The professional approach? Treat any generated audio as a scratch track or ambient bed at best, and build the real soundtrack yourself from separated layers. It’s more work. It’s also the difference between content and production. That gap is everything.
The five layers of a professional soundtrack
Every professional mix — film, commercial, YouTube — is built from the same layer stack. Learn it once, apply it to every AI video you ever make:
1. Dialogue
Spoken words: narration, character dialogue, voiceover. The most important layer — if dialogue exists, everything else serves it. AI video dialogue usually comes from a voiceover recorded separately or a text-to-speech tool (ElevenLabs and similar — check current pricing; quality varies enormously between providers and tiers). Record in a quiet space, close to the mic; you can fix a lot in the mix, but you can’t fix a bad recording. That last part is worth repeating: you cannot fix a bad recording.
2. Ambience (room tone / atmospheres)
The continuous background sound of each location: street hum, room tone, wind, forest birds. Ambience is the glue — without it, cuts between clips feel like they happen in a vacuum. Every location in your video needs its own ambience bed, cut to match the picture cuts. This single layer does more for perceived production value than most creators expect. Way more.
3. Foley and hard effects (SFX)
The specific sounds of specific actions: footsteps, door closes, cloth rustle, object handling, impacts. “Foley” traditionally means performed sounds; in AI video it mostly means well-chosen library effects synced to picture. These are the sync points — the sounds the ear checks against the image. Get them right and the video feels real; get them wrong or absent and it feels hollow.
4. Music
Score or licensed tracks that carry emotion and pacing. Music is powerful and dangerous: the right track lifts everything, the wrong track (or the wrong level) ruins everything. More on sourcing below; the mixing rule is simple — music serves the story, never competes with dialogue. Never.
5. Sweetening (designed sound)
Whooshes on transitions, sub drops on reveals, risers before climaxes, subtle texture layers. Sweetening is the seasoning — invisible when right, and the thing that makes edits feel “expensive.” A small library of whooshes, hits, and risers covers 90% of short-form needs.
Where to get sounds: royalty-free sources
You need legal audio. And look — “royalty-free” doesn’t mean free of cost. It means you pay once (or nothing) and use it without per-use royalties. Sources worth knowing:
- Freesound.org: massive community library, free with attribution requirements varying per sound. Quality varies — audition carefully. Best for foley and ambience oddities.
- Pixabay / Pexels audio: free music and effects, no attribution required on most. Quality is decent and improving; good starting point for zero-budget projects.
- YouTube Audio Library: free music and SFX for YouTube creators, searchable by mood and duration. Limited selection, but reliably safe for YouTube monetization.
- Epidemic Sound / Artlist: subscription music libraries (check current pricing on their sites) with broad, high-quality catalogs and straightforward licensing for creators. The standard choice for serious YouTube and client work — one copyright claim avoided pays for months of subscription.
- Paid SFX libraries: Boom Library, Sound Ideas, and similar for professional-grade effects. Overkill for shorts; worth it when client work demands quality.
Build a personal library. Every project, save the good finds — organized by category (ambience, foley, whooshes, music). After a few projects you’ll have a go-to collection that makes each new video’s sound design dramatically faster. Professionals don’t search from zero every time; they reach into their library. Start building yours now.
Syncing sound to AI motion: spotting
“Spotting” is the professional term for watching the locked edit and noting every place sound is needed. Do it deliberately:
- Watch the edit with no sound. Mark every action that should make noise: steps, doors, objects touched, transitions, reveals, impacts, environmental changes.
- Separate sync points from beds. Sync points (footsteps, hits) need frame-accurate placement. Beds (ambience, music) need smooth coverage across cuts.
- Place effects on the action, not near it. A footstep sound 3 frames late is worse than no footstep sound — the ear detects sync errors ruthlessly. Nudge until it locks. Zoom into the waveform; the transient (the sharp attack of the sound) should land on the visual contact frame.
- Layer, don’t single-source. A door close isn’t one sound — it’s the latch click, the thud, and the room response, layered. Two or three layered elements always sound richer than one “door close.wav.”
- AI motion needs extra attention. AI movement can be slightly unnatural in timing — ease-in/ease-out curves the model invented. Watch the actual motion, not your assumption of it, and place sounds on what the pixels do.
Mixing basics: levels, EQ, compression
Mixing is balancing the layers so everything is heard and nothing fights. Three tools do 90% of the work. Just three:
Levels: the hierarchy
Set your layer hierarchy first — it’s a creative decision, not a technical one:
- Dialogue on top. Always intelligible, always the priority. If anything competes with dialogue, the dialogue wins.
- Effects next. Present and punchy, but below dialogue.
- Ambience low. Felt, not heard. If you notice the ambience, it’s too loud — until you mute it, when you notice its absence immediately.
- Music under dialogue, over ambience. The classic bed position. Duck it (lower it) slightly under dialogue passages — manually with volume automation, not just a static level.
Mix at moderate monitor volume. Mixes made too loud always sound thin everywhere else; mixes made too quiet always sound muddy. Moderate, consistent — and check on headphones AND speakers AND a phone.
EQ: giving everything its space
Equalization shapes frequency content so layers don’t mask each other:
- High-pass everything that isn’t bass. Cut lows below 80–100Hz on dialogue, effects, and music beds. Low-frequency rumble from multiple layers stacks into mud — this one move cleans mixes dramatically.
- Carve space for dialogue. Dialogue lives around 1–5kHz (presence and clarity). Dip music and effects slightly in that range so dialogue sits in its own pocket.
- Don’t over-EQ library sounds. Good library effects need little EQ. If you’re EQing heavily, you probably picked the wrong sound — find a better one.
Compression: controlling dynamics
Compression evens out volume differences — quiet parts up, loud peaks controlled:
- Dialogue gets light compression. Gentle settings (low ratio, slow attack) even out a voiceover’s natural volume variations without sounding processed.
- Don’t compress the master bus aggressively. Heavy master compression is a mastering decision for final delivery, not a mixing crutch. Mix with dynamics intact; loudness comes later.
- Watch your loudness targets. YouTube normalizes to around -14 LUFS; broadcast and some platforms differ. You don’t need to master to the number perfectly for shorts, but wildly hot or quiet mixes get turned up/down by the platform — and that processing sounds worse than a well-balanced original.
Tools: Audition, Fairlight, and free options
- DaVinci Resolve Fairlight: a full digital audio workstation built into Resolve — multitrack editing, EQ, compression, automation, loudness metering. Free in Resolve, and more than enough for professional AI video sound. If you edit in Resolve, there’s no reason to leave the app for audio.
- Adobe Audition: the standard for Premiere-based workflows, with excellent noise reduction, spectral editing (visually painting out unwanted sounds — genuinely useful for cleaning AI-generated audio beds), and round-trip integration with Premiere. Requires a Creative Cloud subscription.
- Audacity (free): the free standby — multitrack recording and editing, basic effects, noise reduction. Less elegant than the above, completely capable for voiceover recording, cleanup, and simple mixes. Every creator should have it installed regardless of their main tool.
- Your editor’s built-in mixer: Premiere’s Essential Sound panel and similar guided tools handle basic dialogue/music/effects balancing competently. Fine for simple projects; graduate to Fairlight/Audition when mixes get complex.
Tool choice matters less than workflow discipline. A careful mix in Audacity beats a careless mix in a pro DAW every time. Every time.
The complete audio post workflow
- Lock the picture first. Sound design on an unlocked edit is rework. Picture lock (or as close as you get in fast-turnaround shorts) comes before serious audio work.
- Dialogue edit. Record/clean/tighten all voiceover and dialogue. De-noise, de-breath (lightly — some breath is human), level out. This is the foundation.
- Ambience beds. Lay continuous ambience under every scene. Crossfade between locations; never hard-cut ambience (the ear hears the room change as a glitch).
- Spotting and SFX. Watch silent, mark sync points, place and layer effects. Nudge to frame accuracy.
- Music. Choose, place, and duck under dialogue. Music edits (cutting a track to picture) are a skill — cut on beats, use the track’s natural dynamics.
- Sweetening. Whooshes, risers, hits on transitions and reveals. Restraint — sweetening should be felt, not noticed.
- Mix pass. Levels → EQ → light compression, in that order. Check on three systems (speakers, headphones, phone).
- Loudness check. Meter the master; aim in the neighborhood of platform targets (-14 LUFS for YouTube as a reference). Fix gross problems, don’t obsess.
- Final watch. Full video, full sound, no stopping, like a viewer. Note anything that pulls attention wrongly — that’s your fix list.
- Export. High-quality audio in the master (48kHz/24-bit PCM in a ProRes/DNx master, or 320kbps AAC minimum for direct delivery). Don’t let a great mix die in a 128kbps encode.
Mistakes that mark you as an amateur
- No ambience. The single most common amateur tell. Cuts between “silent” clips feel broken. Always bed.
- Music too loud. The second most common. If viewers strain to hear dialogue over music, you’ve lost them.
- Library music everyone recognizes. The same three free tracks appear in a thousand videos. Dig one page deeper in the library, or subscribe to a real catalog.
- Unsynced effects. A footstep 5 frames late is worse than silence. Sync or omit.
- Ignoring the phone check. Phone speakers murder bass and expose harsh highs. If it sounds harsh on a phone, EQ it — that’s where the audience is.
- Skipping sound entirely. Publishing AI video with raw generated audio (or none) and calling it done. The picture earned better.
Sound is half the experience and roughly ten percent of most AI creators’ effort — which is exactly why it’s the biggest competitive advantage available. The visuals everyone can generate; the soundtrack is where craft still separates creators. Build the five layers, sync the details, mix with discipline, and your AI videos stop sounding generated. They start sounding produced. Pair this with the storyboard-first planning (note sound needs per shot during planning, not after) and the right generator choice, and the full pipeline — from prompt to final mix — is professional end to end.