
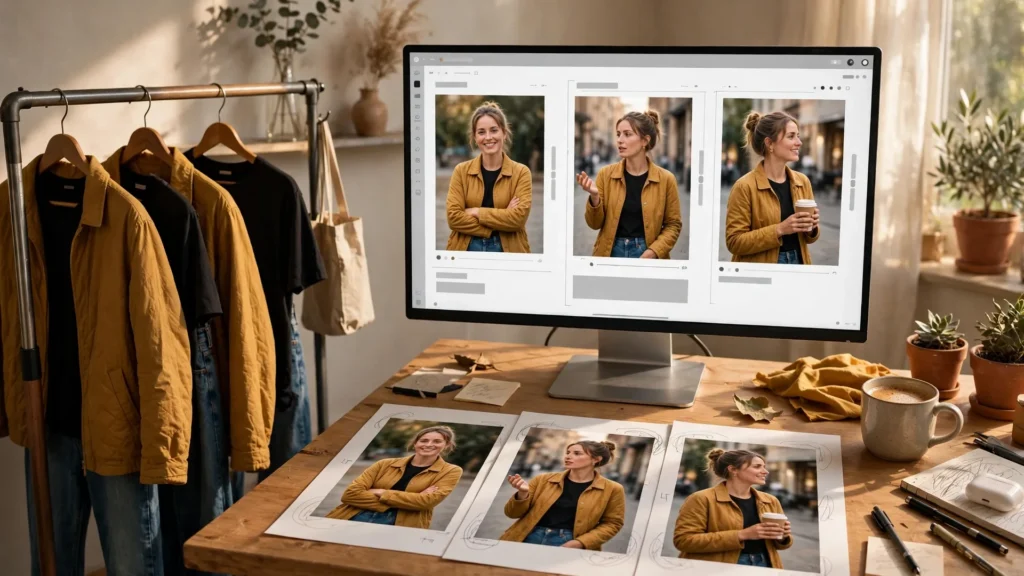
Faces get all the attention in AI video consistency talk. But watch a full sequence back and the thing that actually jumps out? The clothing. The face is a bit off, sure — yet the real giveaway is that your character walked into the café in a red jacket and walked out wearing something closer to burgundy. Then the next shot has added a scarf nobody asked for.
Viewers may not be able to name what changed. But they feel it instantly. Wardrobe consistency is where most multi-shot projects quietly fall apart — and honestly, it’s also one of the most fixable problems in the whole pipeline.
I learned this the slow way. Early multi-shot projects of mine had hero shots that matched beautifully — I was obsessing over face references — while the shirts, coats, and shoes shuffled like a deck of cards between cuts. The fix was not one clever prompt. It was treating clothing with the same seriousness a film crew gives a costume department: itemised, colour-locked, and checked on every single shot. This guide walks through the workflow I use now — from describing an outfit properly to rescuing a shot that ships the wrong coat.
Why Wardrobes Drift Before Faces Do
There’s a practical reason clothing drifts faster than identity. Faces are the most heavily anchored feature in modern video models. A huge share of training data and product tuning goes into faces looking plausible and stable — and most tools give you some kind of face or character reference slot. Clothing gets no such protection. To the model, “a man in a jacket” is a loose concept, and it will happily sample a different jacket from that concept every time you generate.
Three forces make outfits especially unstable:
- Text is a weak lock for fabric. Colour words are fuzzy. “Navy” to a model can slide anywhere from midnight blue to washed-out denim, and it slides further when the lighting in the scene changes. The same prompt in golden-hour light and office light can produce what reads as two different shirts.
- Details are optional to the model. Buttons, pockets, logos, stitching, a belt — none of these are identity to the model, so they get dropped, added or relocated freely. A coat with four buttons in shot one has three in shot two and a belt it never had in shot three.
- Off-frame means forgotten. Anything the camera cannot see in a given shot gets reinvented when it comes back into frame. A jacket that looked right in a close-up becomes a different garment in the wide shot, because the lower half of the outfit was never visible to anchor it.
This is the same root problem covered in the broader guide to character consistency in AI video — the model has no memory between generations — but wardrobe is where that amnesia shows up first and most often. Faces get reference features built into the tools. Your character’s coat doesn’t. You have to be its memory.
Describe Clothing Like A Costume Department
Real costume departments don’t say “wear something nice.” They keep a breakdown: every garment, its colour, its material, its fit, which scenes it appears in. Your prompt writing needs the same discipline. The trick is to describe each garment the way someone would if they had to buy an exact replacement from your words alone.
A weak wardrobe description reads like this: “She wears a stylish jacket and jeans.” A costume-department description reads like this: “She wears a cropped black leather jacket, matte finish, silver zip, worn open over a plain white t-shirt; high-waisted straight-leg blue jeans, no rips; white leather sneakers.” Notice what changed. Every item is named. Every colour is pinned down. Material and finish are stated — because matte leather and glossy leather read as different jackets on screen. Fit is stated — because a cropped jacket and a hip-length jacket are different silhouettes.
Some specifics that pay off more than people expect:
- Name the fabric behaviour, not just the fabric. “Denim jacket” can render stiff, faded, oversized or tailored. “Faded light-wash denim jacket, boxy fit” narrows it a lot. The same goes for “knit sweater” versus “chunky cream cable-knit sweater.”
- Lock the closures and hardware. Zips versus buttons, gold versus silver, a belt or no belt. These tiny elements are exactly what viewers subconsciously compare across cuts.
- State what is absent. Models love adding accessories. If there is no hat, no scarf, no bag, say so — or strip them in the reference. Unstated accessories are the number one source of “where did that come from” moments.
- Pick distinctive anchors on purpose. One memorable element — a red scarf, a specific graphic tee, a yellow raincoat — gives both the model and the audience a fixed point. Generic outfits drift invisibly; distinctive ones at least drift visibly enough to catch in review.
Write this description once. Save it. Treat it as a permanent block of text — it goes into every prompt for that character, word for word. Keeping that wording identical across a whole project matters just as much for clothes as it does for faces.
The Wardrobe Line In Every Prompt
Here’s the habit that made the biggest difference in my own work: every prompt gets a dedicated wardrobe line, pasted in unchanged, sitting right after the character description. Not summaries. Not “same outfit as before” — the model cannot see “before.” The full itemised description. Every time.
A working prompt structure looks like this:
- Character line: name, age, hair, face, build — your fixed identity string.
- Wardrobe line: the full itemised outfit, colour-locked, closures and all.
- Scene line: location, time of day, light.
- Action line: what happens in this shot, camera movement.
Keeping wardrobe as its own line does two things. Practically, it stops you paraphrasing. The moment you retype an outfit from memory you’ll swap “straight-leg” for “slim” or drop the silver zip — and each small paraphrase is an invitation for the model to redesign the outfit. Emotionally, it also changes how you work: you stop thinking of the outfit as part of the prose and start thinking of it as a prop that gets checked in and out.
One more detail worth stealing from real productions: when a character genuinely changes clothes in the story, mark it. Give the second outfit its own full line, its own name (“Outfit B — evening”), and switch to it deliberately at one specific shot. Half the “drift” I see in other people’s projects is actually an unmarked change-point — the creator started describing the new outfit loosely and the model split the difference between both.
If your workflow uses negative prompts, wardrobe is a great place for them. Naming the wrong versions explicitly — the coat without the belt, the shirt in the wrong colour family — helps more than people expect.
Reference Frames That Show The Whole Outfit
Text alone will not hold an outfit across ten shots. You need reference frames. And for wardrobe, the reference has one job: show the whole outfit at once. Most people build character references around the face — a clean head-and-shoulders shot — and then wonder why the clothes wander. The model literally cannot see the clothes in that reference.
A wardrobe-capable reference set looks like this:
- One full-body frame, front view, flat light. Head to shoes, arms slightly away from the body so jacket shape, trouser cut and footwear are all readable. This is the money frame for clothing.
- One three-quarter full-body frame. Side seams, how the jacket hangs, bag straps, anything worn on the back or hip only makes sense from this angle.
- The face close-up you were already using. Keep it. You need both identity anchors, not one or the other.
On a tool like Seedance 2.5 — which takes multiple reference images in one generation — feed the full-body frame alongside the face reference and say in the prompt which reference governs the outfit. On Veo, where you may be working with a tighter reference setup, start the key shots from an image-to-video generation using the full-body frame as the first frame. That locks the entire outfit by construction for that shot. You can extend from there.
Two reference habits that save real pain. First: generate the reference frames in flat, neutral light even if your film is moody. A reference baked in dramatic orange light will tint every outfit decision the model makes — you want the colour information clean, and let each scene’s light do its own work. Second: treat references as locked assets. The afternoon you “improve” a reference mid-project, you have created two wardrobes. The deeper breakdown of what makes reference images work is in the guide to reference images for consistent characters — the outfit rules here sit right on top of it.
Rescue Moves When A Shot Ships The Wrong Coat
Even with all of this, some shots will come back wrong. The trousers change cut in frame six. A belt appears. The jacket is suddenly a blazer. The question is what you do next — because regenerating everything is how projects die. Here’s the order I work through, cheapest fix first:
- Check whether the edit hides it. A wrong detail in a wide shot at dusk, or in a shot you only need for two seconds, often survives the cut unnoticed — especially if the distinctive anchor item is still right. Audiences track one or two features, not the full garment breakdown. Grade helps too: in Premiere Pro, a small selective colour pull can drag a drifted shirt back toward the correct hue when the shift is minor.
- Reframe it away. If the wrong element is low in frame — shoes, trouser hems — a slight scale-up and reposition in the edit can crop it out entirely, as long as your delivery resolution gives you room to punch in.
- Swap the shot’s job. Sometimes the “wrong coat” shot is a perfectly good shot for a different beat: an insert, a transition, a moment where the character is distant or backlit. Reassign before you regenerate.
- Regenerate with a stronger anchor. When the outfit is plainly wrong in a hero shot, regenerate — but regenerate smarter. Use the full-body reference as the starting frame, tighten the wardrobe line, and add the wrong version to your negative prompt (“no blazer, no belt”). Each failed generation is information about what the model wants to substitute; use it.
What I don’t do anymore: accept a badly wrong outfit in a close-up and hope grading saves it. Colour can be nudged. A different garment cannot. Knowing which failures the edit can hide and which always mean regenerate is a skill in itself — a final pass against an AI video QC checklist before export catches the ones that slip through.
The honest summary: wardrobe consistency is unglamorous, repetitive work. Itemise the outfit like a costume department. Paste the same wardrobe line into every prompt. Feed the model full-body references, not just faces. Review every shot at full-body framing — not just the close-ups you care about. Do those four things and the red jacket stays the same red jacket from the first shot to the last. Which is all your audience ever wanted.