
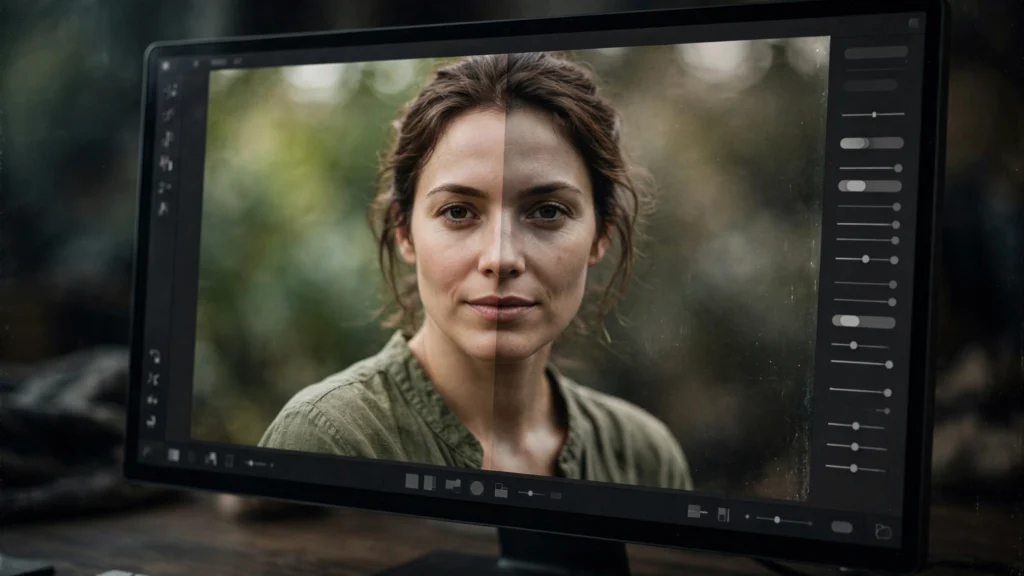
Clean is not the same as convincing. AI footage often arrives spotless — skin like polished plastic, skies like gradients in a presentation — and that spotlessness is exactly what gives it away. Real cameras make noise. Real footage has texture.
In our finishing pass, a controlled layer of grain is often the last thing between a generation and a believable shot, but only when it is built properly. Grain thrown over damaged footage is just damage with seasoning. Here is how we denoise, grain and match texture across a sequence in Premiere Pro so the result looks shot, not rendered.
The Rendered Look: Clean, Airless, Guilty
The rendered look has tells. Surfaces are too uniform. Shadows are empty and smooth instead of gritty. Skin has that airbrushed evenness, with pores implied rather than present. Nothing in the frame has the fine, restless texture that light hitting a real sensor produces.
Your audience may never articulate this — they just feel the clip was “made,” the way you feel a showroom car has never been driven.
Two kinds of clean are at work. There is capture-clean: high-end cameras in good light genuinely produce low-noise images, and grain needs a light hand there or you’ll dirty up a legitimately pristine shot. Then there is generated-clean: the model averages detail away, leaving broad smooth regions where texture should live. Generated-clean is the guilty one. It has no micro-contrast, no bite. It looks like the world was described rather than photographed.
- Check the shadows. Generated shadows are often dead flat. Real shadows dance a little. Flat shadows plus flat skin is the combination viewers read as synthetic.
- Check skin at pause. If a forehead is one uninterrupted tone, that’s the rendered look introducing itself.
- Check repeated surfaces. Walls, skies, roads: if they read as airbrushed gradients, the shot needs texture more than it needs anything else.
This matters commercially, not just aesthetically. The rendered look is what audiences have learned to scroll past. Texture is part of how a clip earns its first two seconds.
Grain As Camouflage And Character
Grain does two jobs at once, and it’s worth knowing which job you’re hiring it for.
As camouflage, grain gives the eye a stable, frame-wide texture to rest on. Small instabilities underneath — a hint of texture crawl, a slightly morphing background, a patch you borrowed from another frame — get lost in it. The grain becomes the finest detail in the shot, and since it behaves consistently, the inconsistencies beneath it stop competing for attention. This is why so many rescues in this series end with “then grain it.”
As character, grain sets the camera the scene pretends to have been shot on. Fine, tight grain whispers modern digital cinema. Coarser, softer grain suggests older film or a phone in bad light. Night scenes want grain that lives mostly in the shadows. The choice should agree with the scene’s light: grain that is equally loud in blazing highlights and dark corners belongs to no real camera.
- Grain is a lie told consistently. The audience believes it because it never breaks character across the shot.
- It should be felt before it is seen. If a viewer can point at the grain in a still, you’ve gone past texture into effect.
- It unifies sources. Clips from different models carry different textures. One grain layer over the sequence is the fastest way to make them feel like one production — a point we lean on in our prompt to final cut workflow.
Denoise First: Don’t Grain Over Mush
Order matters. Grain over mush gives you textured mush, because the noise reduction failures, compression blocks and smeared detail are still sitting underneath, now wearing a coat. Clean the footage to an honest state first, then add texture deliberately.
AI footage needs denoise in specific places. Model-generated noise is not sensor noise — it’s often clumpy, coloured, and worst in shadows and skin. A heavy global denoise will sand the face down to porcelain, which is the one look we’re trying to escape. Work gently: modest noise reduction, watching skin and hair at full resolution as you go.
Where Premiere’s built-in tools aren’t separating fine detail from noise well enough, a dedicated denoiser — this is one of the places DaVinci Resolve’s noise tools earn their reputation, and Topaz gets used for the same reason — can rescue a shot before it comes back to Premiere for finishing. We don’t apologise for that; the finishing pass uses whatever genuinely works, then the sequence is unified in Premiere.
- Denoise for honesty, not beauty. The goal is stable detail, not smooth detail.
- Faces are the tripwire. The moment skin goes waxy, back off. Slightly noisy skin looks human; plastic skin looks generated, which defeats the entire exercise.
- Sharpen after, if at all. Sharpening noise creates crunch. Sharpening after a gentle denoise, lightly, is the only order that behaves.
One caution against enthusiasm: some clips arrive with good, camera-like texture already, especially from generations with detailed prompts about the capture device. Those don’t need the full treatment. Grain what needs grain; leave honest texture alone.
Adding Grain In Premiere Without The Cheap Filter Look
The cheap look comes from grain that is uniform, static, and sitting obviously on top like dust on a lens. Real grain moves, varies with brightness, and belongs to the image. Here is our build in Premiere, step by step:
- Grain at the sequence level. Put your grain on an adjustment layer spanning the whole sequence, not baked per clip. One texture across every shot is what makes disparate generations feel like one shoot.
- Generate or apply the grain, then soften it. Premiere’s Noise effect, or a grain overlay clip set to an overlay/soft-light style blend, gives you a base. Slightly blur the grain layer itself — real grain has no pin-sharp edges, and softening by a hair kills the “digital snow” feel.
- Animate it. Static grain reads as dirt on the screen. The grain must change every frame. Effects with a random seed per frame, or an overlay clip that actually plays, give you that life.
- Keep it off pure blacks a little. Grain screaming in letterbox bars and crushed shadows looks like a projector fault. Either lift the grain layer’s blacks slightly or let the grade’s shadows stay calmer than the midtones.
- Set amount by the least grainy shot. Match the sequence to its cleanest important clip, not its noisiest. You can always accept slightly more; you can’t remove grain a clip brought with it.
Then watch it in motion, at delivery size, on a phone if phones are the destination. Grain judged on a big editing monitor at full screen is grain judged wrong — everything scales down, and fine grain judged generously in the edit bay vanishes on the device, or worse, turns to mud under compression.
Which brings us to the honest limit of the whole technique.
Matching Grain Across Clips From Different Models
A modern short is a collage: two Seedance shots, a Veo hero, maybe an older generation rescued from a previous project. Each arrives with its own texture personality — one waxy, one gritty, one with that odd clumping in the shadows. Cut together raw, the sequence feels assembled, even when colour matches.
Our matching routine is plain. First, get the clips to a neutral, comparable state: gentle denoise on the noisiest, nothing on the clean ones yet. Grade for colour after texture is roughly level, because contrast changes how loud grain appears. Then apply the shared grain layer over the whole sequence and adjust per clip underneath — a waxy clip may want its own additional whisper of texture before the shared layer so it doesn’t look smoother than its neighbours.
- Judge matches at shot boundaries. Play across every cut, repeatedly. Grain mismatches are almost invisible mid-shot and obvious at the seam.
- Don’t chase perfection per frame. Match the feeling at playback, not the pixel statistics on pause.
- Hero shots set the standard. Match the good shots to the hero clip’s texture, not the other way round. You want the sequence to rise to its best material.
This is also where upscaling decisions enter: if part of the sequence is being enhanced, read our companion guide on when to upscale AI video before committing, because enhancement rewrites texture, and grain belongs after any upscale, never before it. Grain baked in pre-upscale gets sharpened into gravel.
How Much Is Too Much: Platform Compression Reality
Here is the part nobody enjoys: platforms will recompress your video, and compression hates grain. Grain is, to an encoder, expensive random detail in every frame. Push bitrate-starved encoding at heavy grain and you get swimming blocks, smeared faces, and artefacts far uglier than the rendered look you were curing.
So the working amount is set by the destination, not the edit bay. For short-form platforms, we grain lighter than our film instincts want — a fine, restrained texture that survives the platform’s re-encode as texture rather than noise. Export at a healthy bitrate with headroom so the encoder isn’t starving when it meets the grain.
Then do the thing too many editors skip: upload a private test and watch it on the actual app, on a phone, over a normal connection. The gap between the master file and the served file is where grain decisions go to die.
- Test the grainiest scene, not the cleanest. Night shots and shadow-heavy clips break first under compression.
- If the platform version crawls, reduce grain before reducing bitrate elsewhere. Texture is the most expensive thing you’re sending it.
- Keep an ungrainy-safe master. Archive a pre-grain or lightly-grained master so a different platform’s demands don’t require rebuilding the finish.
Our QC pass signs off on the platform test, not the export — that checkpoint is baked into our AI video QC checklist, and grain-heavy projects are exactly why.
Frequently Asked Questions
Does Adding Grain Make AI Video Look More Real?
It makes it look more captured, which is most of what “real” means on screen. Grain masks minor instability and replaces synthetic smoothness with camera-like texture. It won’t fix a broken shot — it finishes a good one.
Should I Add Grain Before Or After Upscaling?
After. Upscaling and enhancement sharpen and sometimes re-invent texture; grain added beforehand gets mangled into coarse artefacts. Enhance first, then grain the final image once.
How Much Grain Should I Add For TikTok Or Reels?
Less than you’d add for a film finish. Fine and restrained survives platform compression; heavy grain turns to swimming blocks. Upload a private test and judge it in the app before publishing.
Can Grain Hide AI Artefacts Like Morphing?
Small ones, partially. Grain gives the eye consistent texture that masks minor crawl and seams. It does not hide warping hands or melting faces — those need the crop, patch or regeneration treatments first, with grain as the final unify.
Texture Is The Signature
Strip everything else away and the lesson is simple: audiences trust texture because cameras have always had it. Your generations arrive without it, wearing their smoothness like a confession.
Denoise to honest detail, add living grain at sequence level, match your sources at the cuts, and let the platform — not your monitor — set the dose. Get that right and the render smell disappears. The shot stops looking generated and starts looking — finally — like footage.