
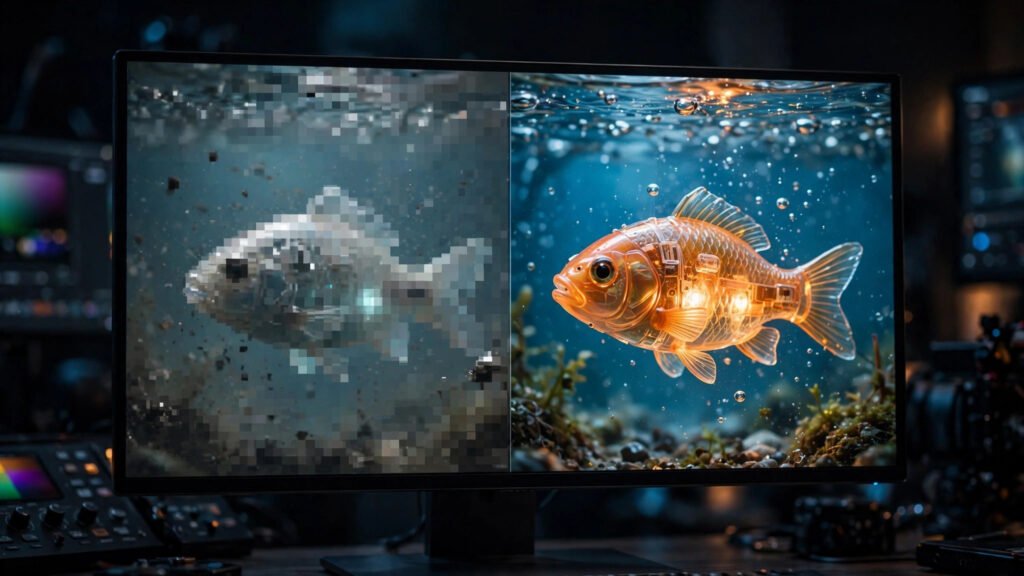
Every AI video creator hits the same moment. You render a beautiful clip at 720p, it looks great on your phone, and then someone says the magic words: “Can you send me the 4K version?” Suddenly you are shopping for an AI video enhancer and wondering whether upscaling is worth the money, the render time, and the hassle.
Here is what most tutorials will not tell you straight: the question is not how to upscale. The question is whether you should upscale at all — and for most clips, the honest answer is no. I have upscaled hundreds of AI-generated clips over the last couple of years, and I have also wasted plenty of nights upscaling clips nobody could tell apart from the originals.
This guide is the decision framework I wish someone had handed me on day one: when upscaling pays for itself, when it is pure wasted money, what each platform actually does to your pixels, and a simple flowchart you can run in thirty seconds before you ever touch an upscaler. If you decide the answer is yes and want the full hands-on workflow — tools, models, settings — read my companion guide to AI video upscaling from 720p to 4K next.
The One Question That Decides Everything
Before model names, before settings, before spending a cent — answer this: who is going to watch this clip, and on what screen?
That single question settles roughly 80 percent of upscale decisions. A clip destined for a phone screen on TikTok has a completely different pixel budget than a hero shot playing fullscreen on a client’s conference-room TV. The upscaler does not know your delivery target. You do. Every section below is just this question worked out in detail.
My rule of thumb, earned the expensive way: if you cannot point to the specific screen and the specific viewer who benefits from the extra pixels, do not upscale. “Future-proofing” is not a delivery target. “It might look better” is not a delivery target. A YouTube video watched on televisions is.
When Upscaling Pays Off
These are the situations where upscaling genuinely earns its keep in my workflow:
- Hero shots for YouTube or large screens. When a clip will be viewed fullscreen on a TV or monitor, jumping from 720p to 1080p or 4K visibly sharpens edges and textures. This is where the investment pays off.
- Cleaning generation softness. Some AI generators produce footage that is technically the right resolution but visually soft. A light enhancement pass can restore edge definition without changing the content.
- Matching mixed-resolution timelines. If most of your project is 4K stock or camera footage and one AI shot is 720p, upscaling the AI shot keeps the cut from screaming “this frame is different.”
- Client deliverables with spec sheets. When a client contract says 4K delivery, you deliver 4K. A good upscaler is far better than a naive resize, which just makes the blur bigger.
- Heavy compression sources. Footage downloaded from a platform and recompressed benefits from a denoise-plus-upscale pass before re-export.
Notice the pattern: every one of these is driven by the delivery target, not by the vague hope of “better quality.” If you want the deeper framing on why the target matters more than the render, read my breakdown of generation vs. delivery resolution — it changed how I plan every project.
When Upscaling Is Wasted Money
Now the other side — where I burned hours and cash before I learned better:
- Platform-only delivery. If your clip lives on TikTok, Reels, or Shorts, the platform compresses everything to its own spec anyway. A pristine 4K upscale gets crushed to the same mushy stream as the 1080p version. Save your render time.
- Already-clean high-res renders. If your generator outputs clean 1080p, an upscale to 4K adds almost nothing visible while tripling render time. Diminishing returns are real.
- Clips with heavy motion artifacts. Upscalers amplify what is there. If your source has warped hands, flickering backgrounds, or temporal jitter, the upscale makes those defects larger and sharper. Fix the generation first — see why AI video looks cheap for the underlying causes.
- Every clip in a long project. Upscaling a 10-minute video clip-by-clip is a render-time nightmare. I reserve it for hero shots and visible moments; the rest ships at native resolution.
- When your source is below 540p. Below this threshold, there is simply not enough real information to work with. The upscaler invents more than it restores, and faces turn to wax.
Platform by Platform: What Happens to Your Pixels
This is the section I wish existed when I started. Each platform treats your lovingly upscaled pixels differently:
YouTube (long-form)
YouTube is the friendliest platform for upscaling. It preserves higher resolutions, viewers watch on TVs and monitors, and uploading in 4K genuinely gets you a higher-bitrate stream — YouTube grants better compression treatment to 4K uploads even when viewers watch at 1080p. If any platform justifies the upscale, it is this one. My rule: upscale hero shots and A-roll for YouTube; B-roll and background plates ship native.
TikTok, Reels, and Shorts
Do not upscale for these. Full stop. Vertical short-form platforms compress everything aggressively to their own delivery spec, and the viewing screen is a phone held at arm’s length. I once spent a full night upscaling a 30-second short to 4K, uploaded it, and compared it side by side with the 1080p version on my phone. Indistinguishable. That night taught me more than any tutorial.
Instagram Feed and Portfolio Sites
Middle ground. Feed posts get compressed but are sometimes viewed on larger screens via the web. For portfolio pieces — the work that wins you clients — I upscale, because a prospect might fullscreen it on a monitor. For casual feed posts, native resolution is fine.
Client Delivery
The spec sheet decides, not you. If the contract says 4K, you deliver 4K, and a proper upscaler beats a naive resize every time. Budget the upscale time into your quote — it is real work with real GPU hours behind it. I also keep an upscaled master on file; clients come back asking for “the 4K version” months later, and having it ready is pure professionalism. My full master-file strategy lives in master files vs. platform files.
The Real Cost: Money and Time
Let me put honest numbers on both sides of the ledger.
Money. A desktop upscaler like Topaz Video AI runs on a yearly subscription — around $299 per year for the Personal plan at the time I checked, though you should verify current pricing on their site since it has changed before. Built-in generator upscalers are usually free or bundled with credits you already pay for. If you upscale fewer than a handful of clips per month, paying for a dedicated tool makes no financial sense.
Time. This is the cost people forget. On my RTX 3060 with 12GB of VRAM, a minute of 720p-to-4K upscaling takes roughly 2 to 5 minutes of GPU time — longer for heavier generative models. Add preview checks at 100 percent zoom (non-negotiable — wax skin and halos hide at thumbnail size), the occasional redo, and export. One polished clip eats 15 to 30 minutes of your machine’s time.
The math that matters. Multiply: clips per month × 20 minutes × your hourly value. If you upscale 20 clips a month, that is 6+ hours of GPU time plus the subscription. For client work billed against a 4K deliverable, that math closes easily. For daily TikTok posts, you are spending 6 hours a month producing pixels the platform deletes on upload.
Topaz vs. Built-In: The 30-Second Version
You have two real options, and the choice is simpler than the internet makes it look:
- Built-in generator upscalers — free or cheap, one click, no control. The generator’s own upscaler was trained on similar synthetic footage, so it handles AI quirks gracefully. Perfect for quick social bumps where the platform compresses everything anyway.
- Topaz Video AI (desktop) — paid subscription, full model choice (Proteus, Iris, Nyx, Gaia, Starlight), split-view preview, real control. Worth it for hero shots, client work, and anything where you need to see exactly what changed before it becomes your master file.
My verdict after two years: built-in for daily social clips, Topaz for the shots that matter, neither for everything else. If you want the complete hands-on comparison — every model, my exact settings, the 5-step workflow, and the artifacts to watch for — that is what my full AI video upscaling guide covers. This article is about the decision; that one is about the execution.
My Upscale Decision Flowchart
Run every clip through this before you touch an upscaler:
- Is there a delivery spec requiring higher resolution? Client contract, broadcast spec, festival submission → Yes: upscale. No spec → continue.
- Will it be viewed on a large screen? YouTube on TV, portfolio fullscreen, presentation → Yes: upscale the hero shots. Phone-only → continue.
- Is the source clean? No warping, no heavy flicker, at least 540p → Yes: continue. Messy source → fix the generation first, do not upscale.
- Is it worth 20 minutes of GPU time? Divide clips into “hero” and “everything else.” Heroes get the upscale. Everything else ships native.
- Which tool? Hero shot or client work → Topaz (control + preview). Quick social bump → built-in upscaler. Fewer than a handful per month → skip both, render at max native resolution.
Tape this to your monitor. It will save you more render hours than any settings tutorial.
The Bottom Line
Should you upscale AI video? Sometimes — when the delivery target demands it, the screen is large enough to show it, and the source is clean enough to deserve it. The rest of the time, upscaling is the most expensive way to produce pixels nobody will ever see.
The creators who win at this game are not the ones with the sharpest upscales. They are the ones who stopped upscaling everything and started deciding. Run the flowchart, upscale the heroes, ship the rest native — and put those saved GPU hours into better generations, because no AI video enhancer fixes a bad render. It only makes a good render bigger.