
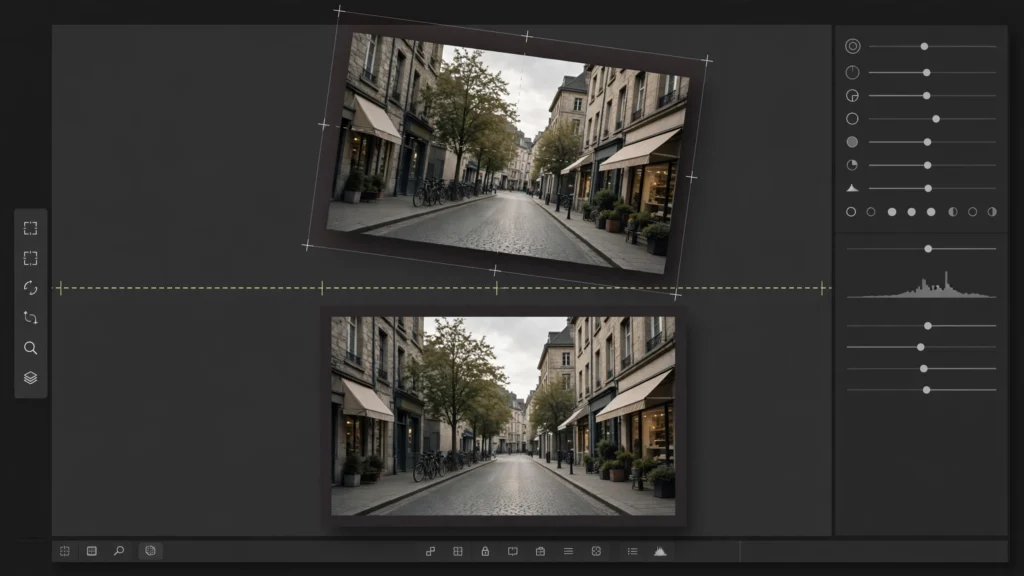
Every AI editor learns this the hard way. You take a jittery generation, throw a stabilizer at it, and get back something that wobbles like it was shot through jelly. The tool did its job. The footage was the problem. Generated motion doesn’t behave like camera motion — and treating the two as the same defect is where most stabilization attempts go wrong. Here’s how we calm AI jitter in our Premiere finishing pass without trading jitter for warp.
AI Jitter Is Not Camera Shake
Camera shake comes from a physical camera moving through real space. It’s smooth, continuous, and it obeys physics — the whole frame moves together, foreground and background shifting in ways that agree with each other. Stabilizers were built for exactly this. They track the frame’s motion, model it, and iron it out.
AI jitter is a different animal. The model re-draws the scene on every frame, so the “camera” is not moving through a stable world. The world itself is being re-imagined in slightly different positions. Edges crawl. A door frame leans left, then right. The face stays put while the wall behind it sidesteps. Nothing is moving together because nothing was ever really together.
- Shake is uniform; jitter is local. In real shake, a point on the left and a point on the right travel together. In jitter, they wander independently.
- Shake has rhythm; jitter has noise. Handheld shake has a frequency your body made. Jitter is frame-to-frame randomness with no pattern to model.
- Shake comes with motion blur; jitter is sharp. Real fast movement blurs. Jitter snaps between sharp positions, which is why your eyes catch it so easily.
Why does this matter? Because when a stabilizer tries to model jitter as camera movement, it invents a camera path that never existed — then warps every frame to fit it. The inventing is the warp. Understanding that single fact changes how we set the tool up: we ask it for far less.
What Stabilizers Do To Generated Motion
Premiere’s Warp Stabilizer analyses motion, decides what the intended camera path was, and repositions, rotates, and — in its subspace modes — locally warps frames to smooth that path. On real footage this is close to magic. On generated footage, three things bite.
First, the tracker latches onto morphing detail. A stabilizer needs reliable features to track, and generated textures that boil between frames give it moving targets. It ends up tracking the morphing itself and “correcting” movements that were really texture noise — bending the frame around them.
Second, generated scenes lack true parallax. Real camera moves reveal depth — near objects slide against far ones — and stabilizers quietly rely on that geometry. A generated shot may render background and subject almost as one flat layer. Ask a stabilizer to smooth a flat world as though it had depth and it stretches regions like rubber to manufacture the difference.
Third, the smoothing has nowhere honest to go. With real shake there’s a true, steady shot hiding under the movement. With jitter there is no underlying steady version; every frame is equally invented. Heavy smoothing doesn’t recover a stable shot, it interpolates toward one — and interpolation across morphing content is precisely what produces the breathing, gelatinous look editors describe as “the warp.”
None of this means don’t stabilize. It means stabilize generated footage like a suspicious material, at settings you’d consider too weak for real camera work. Weak is correct here.
Settings That Calm Without The Jelly
Our starting point in Premiere — and it rarely needs to go further than this:
- Apply Warp Stabilizer and immediately tame it. Choose Smooth Motion rather than No Motion. No Motion tries to lock the frame to a tripod that never existed, and generated footage fights it hardest. Smooth Motion only asks the jitter to calm down.
- Turn Smoothness right down. Work in the low numbers — the thinking is “take the edge off,” not “remove the movement.” If the frame still swims, raise it in small steps and re-check edges after each step.
- Prefer Position, or Position, Scale and Rotation. The simpler methods move the whole frame rigidly. The advanced subspace warping method is the one that bends local regions, and on generated content that bending is where the jelly lives. We reach for subspace only when a specific shot demands it, and we watch it like it owes us money.
- Keep borders honest. Let stabilization crop rather than synthesizing edges. Synthesised edges on generated footage invent detail that crawls. A modest crop is honest; magic edges are not.
- Analyse short sections. Stabilize the exact frames you are using, not the whole generation. Shorter analysis, fewer morphing features for the tracker to chase.
Check your work on straight lines — window frames, door edges, horizon lines. Warp shows there first. Then check faces: over-stabilized generated faces develop a faint swimming in the features that viewers feel without seeing. If either fails, the answer is almost always less smoothing, not more analysis.
One more practical habit: work on a copy. Duplicate the clip in the timeline or nest the section you’re treating, stabilize the copy, and keep the untreated original underneath, muted. When a setting choice looks wrong an hour later — and at least once per project, one will — the untreated frames are still sitting there. This costs nothing and has saved us more re-imports than we care to admit. It also gives you an honest A/B: toggle the treated copy off and watch the jitter you started with, because stabilization improvements are hard to judge from memory.
Also worth saying: stabilize before you grade and before any frame-rate work. Stabilizing graded footage can smear your corrections around, and doing frame interpolation for smooth AI video on unstabilised jitter bakes the jitter into brand-new frames that are much harder to fix afterwards.
Crop Discipline: Framing With Stabilization In Mind
Stabilization spends frame edges. Every correction repositions the picture and crops what falls outside — so a shot framed to the pixel will come back from the stabilizer tighter than you composed, sometimes tighter than the story allows. The answer is to frame loosely on purpose when you generate.
Our rule on any shot we expect to stabilize: ask the generation for headroom. Literally. Compose a touch wider, keep faces and key action off the outermost margins, and treat the outer band of the frame as a stabilization budget you’re prepared to spend. In our prompt to final cut workflow this is written into the shot list — jitter-prone setups, like slow pushes through detailed interiors, are flagged “generate wide.”
- Vertical needs extra discipline. In 9:16 there is little width to spend. Generate vertical shots with deliberate space above heads and keep mouths and eyes well inside the middle band.
- Stacked corrections stack crops. Stabilization plus a reframe for morphing backgrounds plus delivery cropping can quietly total a heavy scale-up. Add up your crops before you start, not after the shot turns to porridge.
- Scale hurts later stages. A stabilized shot already scaled up gives upscaling tools less real detail to work with. If the shot is headed for enhancement, stabilize gently and crop once.
Put plainly: stabilization is a framing decision made at generation time, paid for in the edit. Generate like you know the stabilizer is coming.
When To Leave The Jitter (Energy Is A Choice)
Not all jitter should die. Some generated movement has a restless, handheld energy that suits the material — street scenes, chases, party footage, anything that would be shot loose in real life. Removing every trace of instability from those shots makes them feel embalmed. The audience can’t name what changed; they just stop believing it.
We ask one question: is the movement telling the story? Energy in a frantic scene is storytelling. Jitter in a calm interview is a defect, because the scene promises stillness and the frame breaks the promise. A locked-off product shot that trembles is broken. A concert shot that trembles is alive.
- Calm scenes, calm frames. Dialogue, beauty shots, anything contemplative — stabilize these properly.
- Match your neighbours. A jittery shot between two glassy ones looks like a mistake even if it is fine alone. Consistency across the sequence matters more than perfection per shot.
- Young audiences tolerate movement; nobody tolerates warp. If the choice is slight jitter or slight jelly, keep the jitter every time.
Taste, in the end. But informed taste — jitter you chose reads as style, jitter you failed to fix reads as sloppiness, and viewers can tell the difference even if they can’t say how.
Generation-Side Prevention For Next Time
The cheapest stabilization is a steadier generation. What we prompt differently now:
- Describe the camera plainly. “Locked-off shot,” “slow push-in,” “static camera” — simple, single camera instructions. Shots prompted with elaborate multi-axis moves come back jittering because the model keeps re-deciding the path.
- One move per shot. A pan or a push, not a pan-while-tilting-while-rising. Split complex moves across cuts.
- Shorter takes for moving cameras. Stability decays with duration. Generate the move in shorter pieces and let editing join them.
- Give the tracker-friendly world a chance. Scenes with firm geometry — solid buildings, defined edges — stabilize better in both senses: they jitter less, and what jitter remains tracks cleanly.
Our QC review, in the AI video QC checklist, grades jitter before a clip earns a place in the edit — precisely because a badly jittering hero shot is often a five-minute regeneration and a two-hour stabilization argument. Choose the five minutes.
Frequently Asked Questions
Why Does Warp Stabilizer Make AI Video Look Worse?
Because it models jitter as camera shake and warps frames to fit a camera path that never existed. Turn the smoothness right down, use the rigid methods instead of subspace warping, and stabilize only the frames you are using.
What Is The Best Smoothness Setting For AI Footage?
Lower than feels right. Start at the gentle end and add small steps only while straight edges stay straight. The right number is shot-dependent; the wrong number announces itself as breathing walls and swimming faces.
Should I Stabilize Before Or After Upscaling?
Stabilize first, gently. Upscaling jitter bakes the instability into sharper detail, and stabilizing upscaled footage gives the tracker morphing, enhancement-invented texture to chase. Finish the motion, then enhance.
Can I Fix AI Jitter Without Any Crop?
Rarely. Any stabilization that repositions frames needs edge room. If a shot cannot spare a crop, generate it wider next time — or accept the jitter. Synthesised edges crawl on generated footage and usually look worse than honest cropping.
Less, Slower, Earlier
If there’s one sentence to take from all this: stabilize generated footage with less force, on shorter sections, decided earlier. Less force because the material has no true steady shot to recover. Shorter sections because the tracker chases morphs over long spans. Earlier because framing, grading and interpolation all go better once the motion is settled. Do that, and the jelly stays in the jar — your shots come out calm, straight-edged and still alive.