
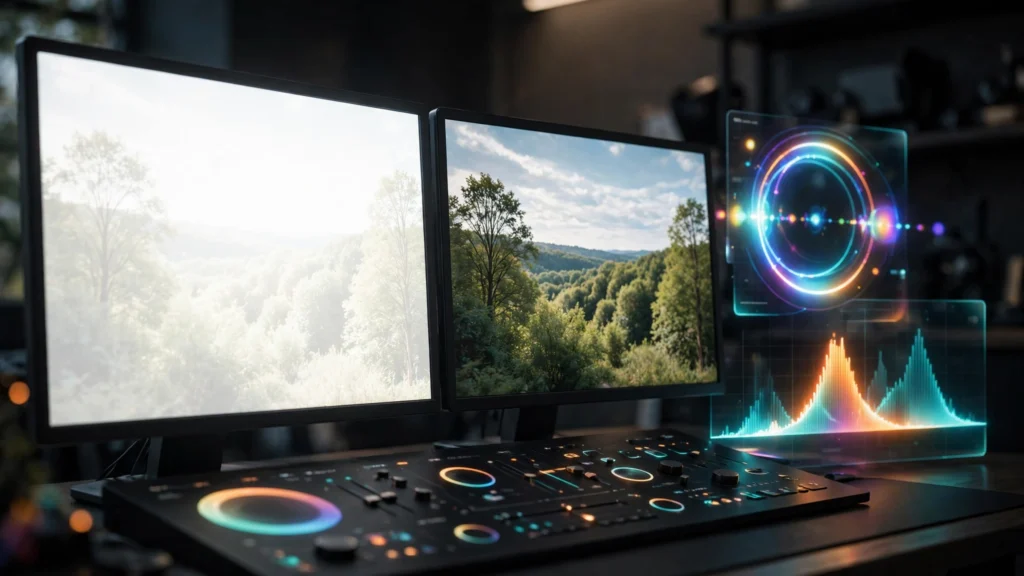
Some generations come back too hot — faces blown to porcelain, skies like paper. Others come back as mud: promising shadows that deliver grey soup. Both look unfixable in the thumbnail. And both are more recoverable than they appear — up to a hard limit you need to learn to see.
This is how we rescue exposure failures in Premiere’s Lumetri tools: reading what the shot actually contains, recovering what’s genuinely there, and recognising the exact point where “rescue” becomes a polite word for “regenerate.”
Read The Scopes, Not Your Feelings
Your eyes adapt. Stare at an overexposed shot for ten seconds and it starts to look almost normal. Look away from a muddy one and it starts to look moody. Your eyes are liars — friendly, well-meaning liars.
Scopes don’t adapt. That’s why every rescue in our bay starts with the Lumetri Scopes panel open — waveform for exposure, vectorscope for colour casts — before a single slider moves. The scopes are the only honest witness in the room.
We ask the waveform three questions. First, where does the bulk of the image sit? A healthy shot spreads across the scale; a broken one piles everything into the top fifth (blown) or crushes it into the bottom (muddy). Second, are the highlights clipped flat against the ceiling, or merely high? A highlight region that touches the top with a hard, flat edge has stopped containing information. A highlight that peaks below the ceiling, however brightly, still has gradations to work with. Third, what are the shadows doing — sitting at a defined floor, or hovering in grey fog well above black?
- Clipping is a cliff edge, not a gradient. Detail exists right up to the clip point and then not at all. Your whole rescue plan depends on knowing where that cliff is.
- Judge per shot, not per scene. AI generations vary wildly between takes of the same prompt. The neighbour shot being fine tells you nothing about this one. Nothing.
- Scopes first, taste second. Get the shot technically plausible, then make it beautiful. Inverting that order builds style on top of damage.
This scope habit is written into our AI video QC checklist as the first step of any colour rescue. It takes thirty seconds and replaces guesswork with a map.
Highlight Rescue: What Is Actually Still There
Here’s the misunderstanding to clear away: blown in the thumbnail does not mean blown in the data. Generations often render highlights hot but intact — a bright face that looks white on screen may still carry modelling, cheek shading, the works, merely parked too high on the scale. That is recoverable all day.
True clipping, where the model rendered one flat value across an area, is not. The difference lives in the waveform: gradations near the top mean data; a flat shelf at the top means gone. Learn to see that shelf and you’ll stop wasting time on dead shots.
Our rescue order in Lumetri’s Basic Correction — and the order genuinely matters:
- Highlights down first. Pull the Highlights slider down and watch the waveform’s top edge grow structure. This targets the bright region without dragging the whole image dark.
- Whites down second, gently. Whites set the ceiling. A modest reduction reopens headroom; an aggressive one greys the whole frame.
- Exposure last, if at all. Exposure moves everything. By now the problem is usually solved more precisely by the first two, and global darkening just manufactures the mud problem at the other end.
- Work on the hero frame. Find the brightest, most important frame — usually the closest face shot — and rescue that. Compromise around it elsewhere.
- Skin is your truth test. If highlight recovery brings back skin modelling, the shot is alive. If skin stays one flat tone while everything around it recovers, the face itself clipped — and now we’re negotiating, not rescuing.
- Accept gentle dullness. Recovered highlights often sit slightly grey compared to true bright footage. That’s the price of rescued data, and it’s worth paying.
Muddy Shadows And The Crunch Dilemma
Mud is the opposite failure: shadows rendered as grey fog, blacks nowhere to be found, the whole shot looking like it was filmed through a stocking. The fix seems obvious — pull the shadows down, deepen the blacks, restore contrast. And it works. Until it doesn’t.
Because muddy shadows are also where generation noise, compression and model artefact live. Crush them carelessly and the fog becomes crunch: noisy, blocky, crawling dark areas that look worse than the mud did. So the dilemma is real. Mud looks cheap; crunch looks broken. Pick your poison carefully — or better, navigate between them like this:
- Shadows down in small steps, watching shadow detail at full size. The moment shadow texture starts breaking into blocks, you’ve found the floor. Stop one step before it.
- Use the tone curve for the heavy lifting. A gentle S-curve restores contrast through the midtones — where the story lives — without slamming the shadow floor as hard as the Shadows slider does.
- Add contrast through saturation’s back door. Slightly lifted saturation makes a shot feel punchier and less muddy without touching the shadow values at all. Mud is often as much desaturation as darkness.
- Give shadows somewhere to go. A touch of grain over rescued shadows hides the noise floor behind honest texture. This is deliberate camouflage and it earns its place on dark shots.
Sometimes the honest outcome is slightly-lifted, filmic blacks rather than true depth. A shot with gentle grey shadows that plays cleanly beats a shot with crushed blacks that crawls. Choose clean. The grade-matching work across a sequence is covered more broadly in how we approach the prompt to final cut workflow, where exposure triage sits before any creative look is applied.
White Balance Triage On A Broken Clip
Exposure rescues fail in a particular frustrating way when white balance is also broken: you fix the brightness and the shot still looks wrong, because the model rendered the scene under light that never existed. A green noon. An orange interior with blue shadows. Colour casts poison exposure judgement — so on badly broken clips we triage balance alongside brightness rather than politely afterwards.
Lumetri’s white balance eyedropper is a decent start only if the shot contains something that should be neutral — a white shirt, a grey wall, paper. Generated scenes often contain near-neutrals that aren’t quite: the model’s idea of a white shirt under warm light is cream. Click it and you balance toward the model’s fiction. We prefer manual correction with the vectorscope as referee: temperature and tint adjusted until skin — the one constant audiences judge instinctively — sits where skin should sit.
- Skin first, scenery second. Balance the people right and let a fictional sunset be fictional. Audiences forgive strange skies; they don’t forgive green faces.
- Watch mixed light. Models happily render warm window light and cool interior light in the same frame. No global balance fixes both. Balance for the subject’s light and accept atmosphere elsewhere.
- Use HSL Secondary for stubborn casts. When one region carries the cast — greenish shadows, magenta skin — isolating and nudging that range beats bending the whole frame to punish one area.
Triage, not perfection. The aim on a broken clip is a believable shot, not a colourist’s showreel. Know which one you’re making.
Matching The Rescue To Its Neighbour Shots
A rescued shot doesn’t play alone. It sits between takes that may be perfectly exposed — and a heroically “corrected” clip that matches nothing around it fails in context even if it passes alone. This is the step rescue work most often forgets. Don’t be most people.
We match with Lumetri’s comparison view: rescued shot on one side, the adjacent good shot on the other, scopes open. The goal is family resemblance — same apparent light, same shadow depth, skin in the same world. The rescued clip will usually accept slightly less correction than its solo optimum to sit comfortably; a technically perfect rescue that glows differently from its neighbours draws the eye precisely because it’s the odd one.
- Match the midtones, forgive the extremes. Neighbour agreement in faces and midtones sells continuity. Shadow floors and highlight ceilings can differ a touch without the audience blinking.
- Apply one unifying look over the sequence afterwards. A gentle shared grade across all clips papers over the remaining differences between rescued and healthy shots.
- Re-check on the cut, in motion. Matching is judged at the seam. Play across every join involving the rescued clip a few times before signing off.
In series work this matching burden is one more argument for regenerating a badly exposed take when the scene matters: five matched neighbours are a fixed reference, and the odd take will fight them forever. Forever is a long edit.
Knowing When ‘Rescue’ Means Regenerate
And so to the limit. Some shots are not rescued; they are embalmed. The signs:
- Flat shelves on the waveform at both ends. Clipped highlights and crushed shadows with nothing in between means the shot never contained the scene’s range. Colour tools can’t invent the missing middle. Nobody can.
- Skin that never returns. If highlights recovery brings back the room but not the face, the generation failed at the thing the shot is for. Fixing ugly faces in AI video covers face-specific rescues, but a fully clipped face is beyond both articles: regenerate.
- Every fix creates a new problem. Shadows crunch when lifted, highlights grey when pulled, grain won’t hide the damage. When the trade-offs form a circle, stop walking it.
The regeneration prompt gets the exposure lesson baked in: describe the light concretely and modestly — soft window light, overcast afternoon — rather than extremes like blazing noon or candlelit darkness, which push models toward the cliff edges in the first place. Describe the light you’d want to grade, not the light that sounds dramatic. The prompt is where this battle is actually won.
Frequently Asked Questions
Can Blown-Out Highlights In AI Video Be Fixed?
Often partially, sometimes fully — if the waveform shows gradation near the top, the detail exists and Lumetri’s Highlights and Whites controls can bring it down. If the highlights are a flat shelf at maximum, that detail was never rendered, and only regeneration brings it back. The shelf is the verdict.
Why Do My Dark AI Scenes Look Muddy?
The model raised the shadow floor — nothing reaches true black, so the shot sits in grey. Restore depth with small shadow reductions and a gentle S-curve, stopping before shadow noise breaks into blocks. Slightly lifted, clean shadows beat crushed, crunchy ones. Clean beats deep.
What Is The First Thing To Check Before Colour-Correcting A Bad Generation?
The scopes. The waveform tells you whether highlights are clipped flat or merely bright, and where the shadow floor sits. That single distinction decides whether you’re rescuing data or negotiating with damage. Thirty seconds, and you know which fight you’re in.
Should I Fix Colour Before Or After Stabilizing And Trimming?
After. Colour work on frames you later cut is wasted, and stabilizing or cropping after correction can shift how the rescue sits. Lock the edit, then rescue colour, then match neighbours, then apply the unifying look. Order is everything here.
Recover What’s There, Honestly
That is the entire ethic of the rescue: the shot contains more than the thumbnail admits, right up to the moment it doesn’t. Scopes tell you which side of that line you’re on.
Recover the real gradations. Deepen the mud without crunching it. Keep the people believable. Match the neighbours. And when the waveform says the scene was never rendered, believe it and go back to the prompt. A colourist’s best tool is still knowing when to stop colouring.